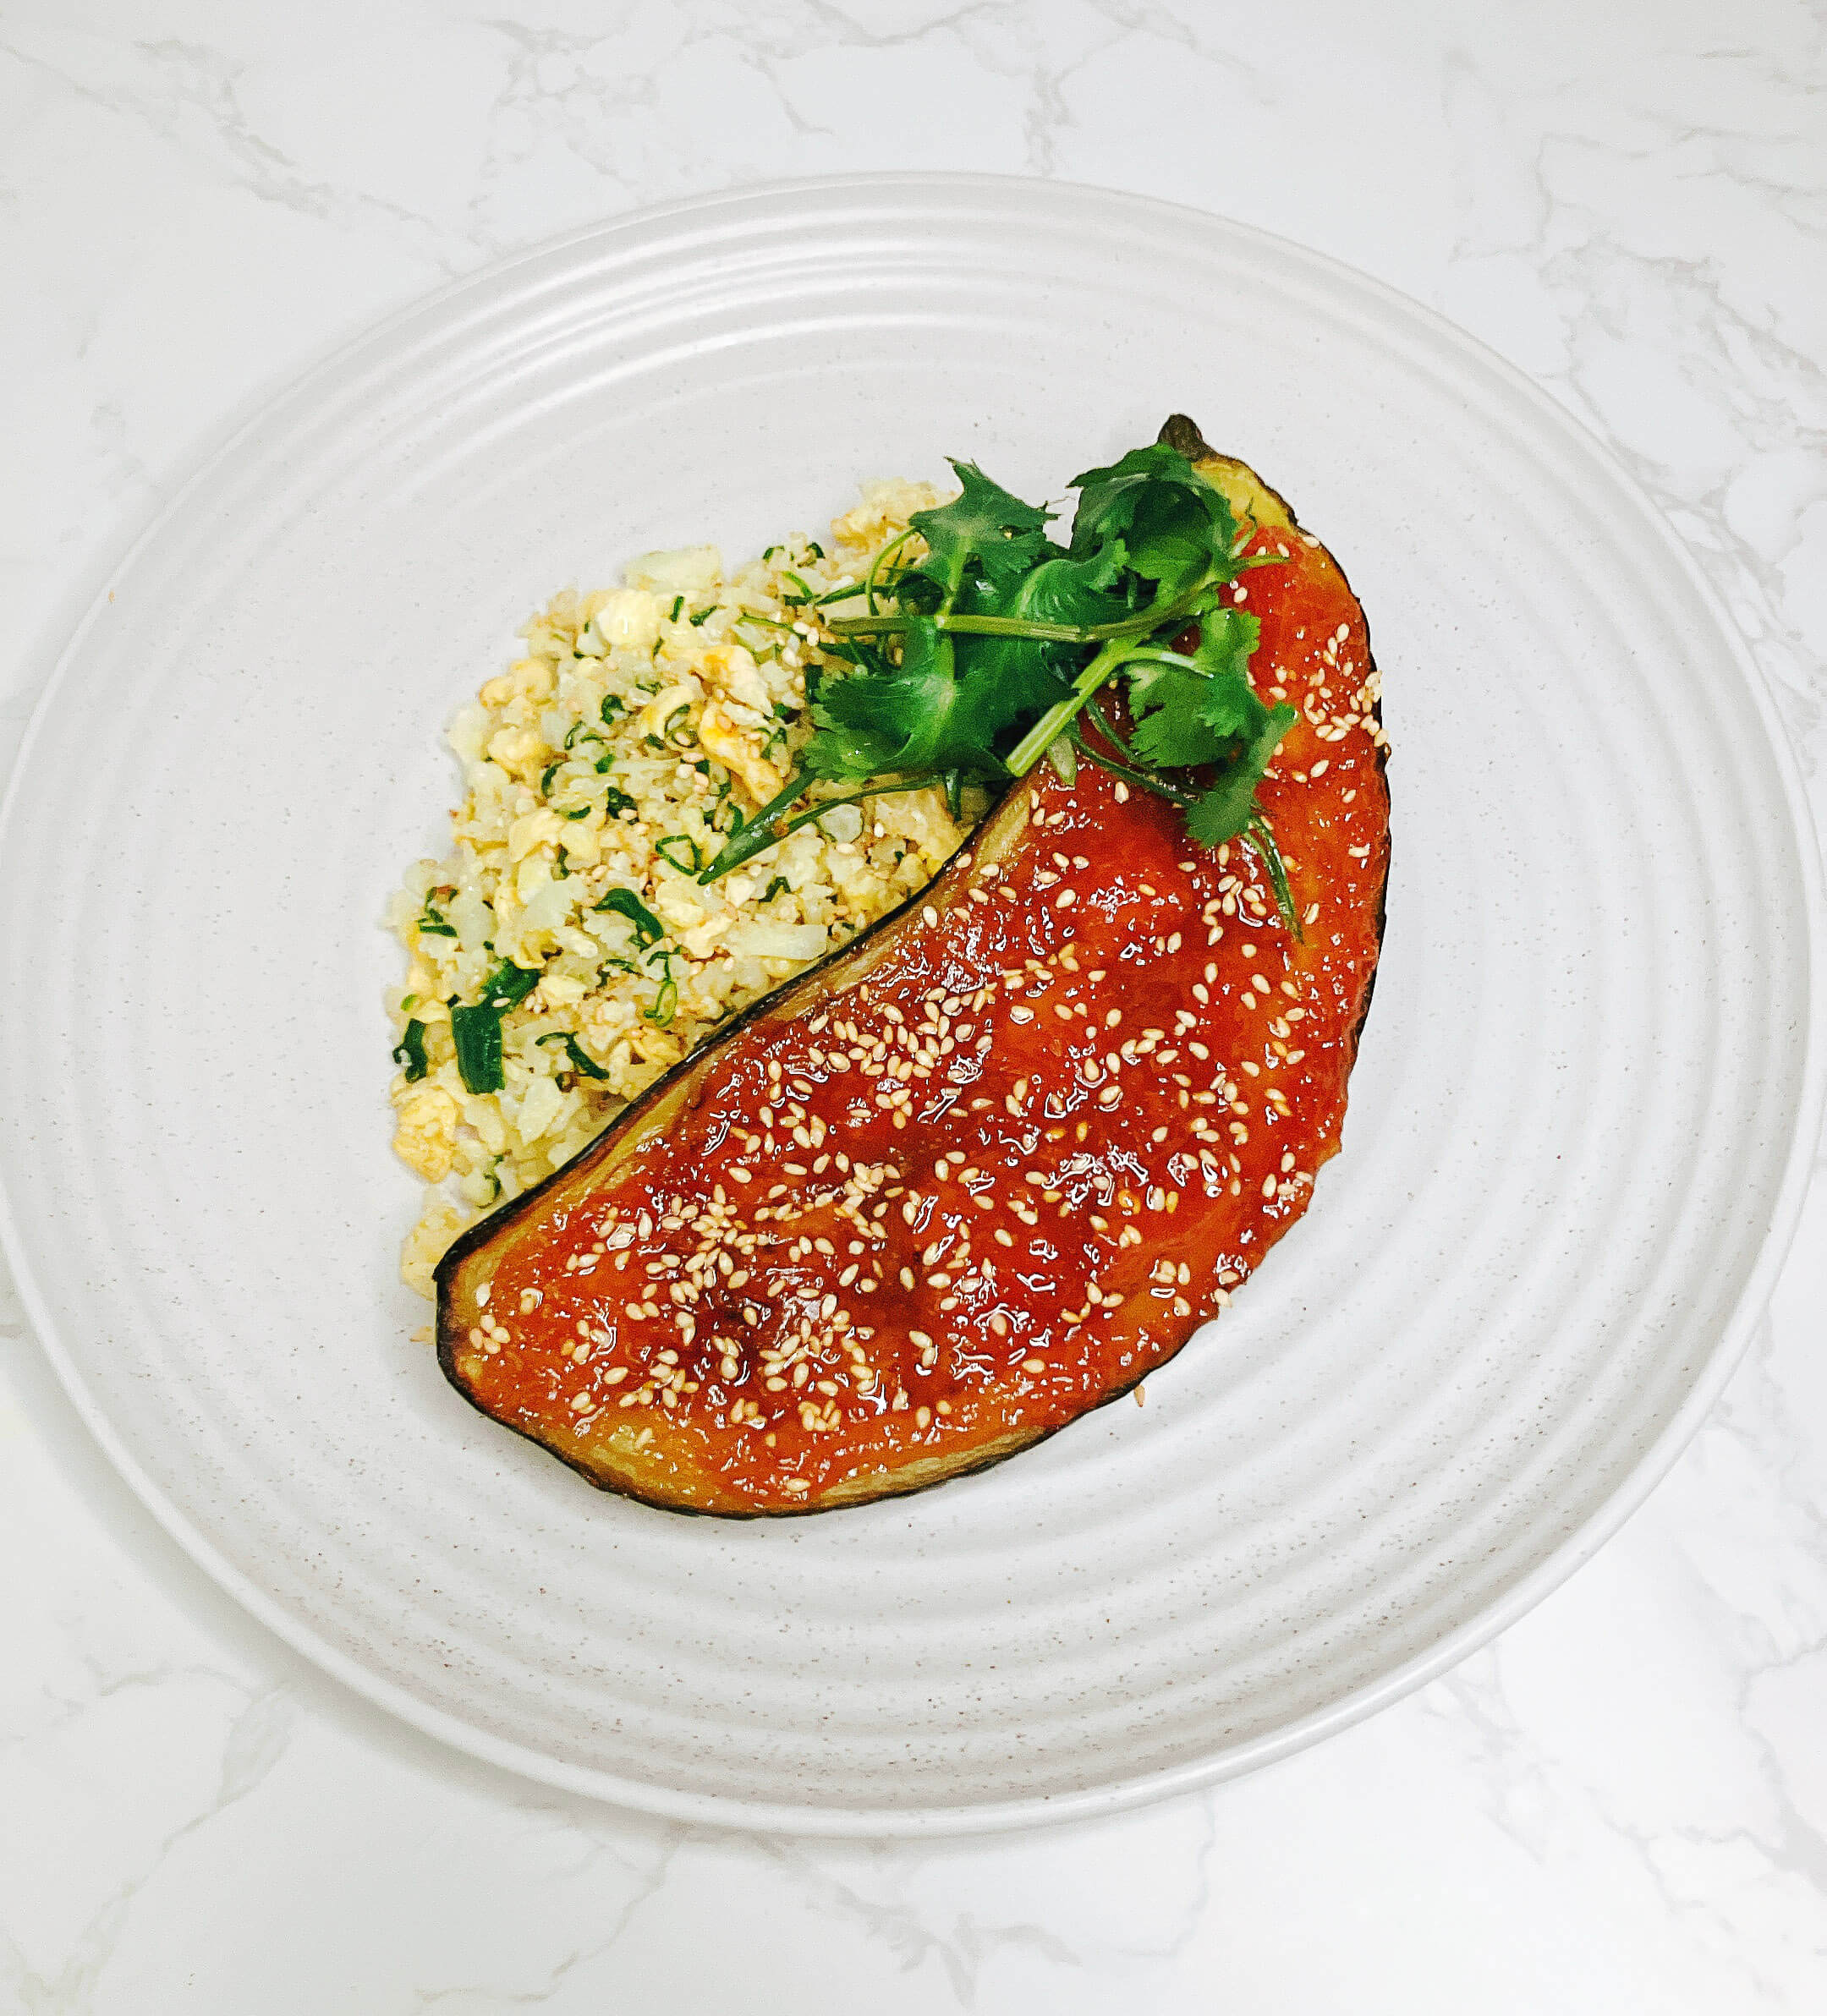
Easy Cauliflower Fried Rice with Miso Eggplant – 30 Minutes (Air Fryer or Oven, Keto Option)
This Cauliflower Fried Rice with Miso Eggplant is one of my craving dishes — sweet, savory, and full of umami. My kids aren’t big fans of eggplant, so I usually save it for nights when it’s just me and my wife — she loves it as much as I do.
I keep the fried rice simple — just fluffy cauliflower rice, egg, and fresh spring onion — so it balances perfectly with the tender, miso-glazed eggplant. When I want more color and a warm, earthy note, I switch to turmeric cauliflower rice, which looks beautiful next to the glossy miso glaze. (For tips on making cauliflower rice from scratch or adding different flavors, see my Cauliflower Rice Guide.)
In this recipe, you’ll get three miso glaze options to suit different diets — pantry-friendly (no mirin or sake), traditional, and keto — plus the choice of red miso for a bold, rich flavor or white miso for a gentle sweetness.
Why You’ll Love This Cauliflower Fried Rice with Miso Eggplant
- Quick, 30-minute vegetarian dinner.
- Two cooking methods — air fryer or oven.
- Works with red or white miso for different flavors and colors.
- Pantry-friendly glaze (no mirin or sake), traditional and keto variations.
- Optional turmeric cauliflower rice for extra color and antioxidants.
- Can be made low-carb with the keto glaze, and is perfect for meal prep or weeknight dinners.
What you will need for Cauliflower Fried rice with Miso Eggplant
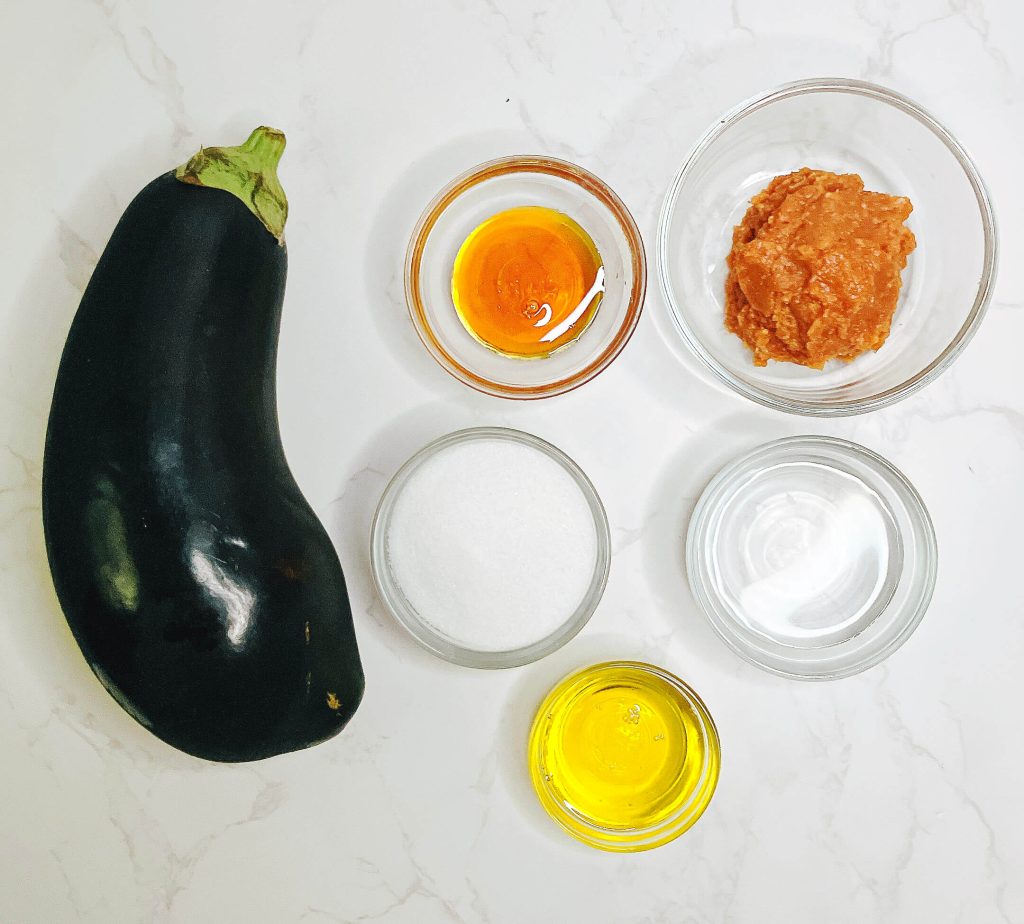
Pantry-friendly ingredients laid out for making miso-glazed eggplant.
For the Miso Eggplant:
- Fresh eggplant, halved lengthwise — regular or Japanese eggplant both work.
- Miso paste — use red for a deeper, richer flavor or white for a milder, slightly sweeter taste.
- Golden syrup (pantry-friendly option — can swap with honey) for natural sweetness.
- Sugar — balances the salty umami of the miso.
- Water — to loosen the glaze and help it spread evenly.
- Olive oil or avocado oil for roasting or air frying.

Whole ingredients laid out for making cauliflower fried rice — a simple, healthy weeknight dish. 
Prepped ingredients for a quick and healthy cauliflower fried rice, featuring cauliflower rice, egg, spring onion, and sesame oil.
For the Cauliflower Fried Rice
- Cauliflower rice — fresh or frozen; grate from a whole cauliflower or use pre-riced for convenience.
Additional Information: See my Cauliflower Rice Guide for tips on making fresh or frozen cauliflower rice. This recipe also includes a bold, golden turmeric cauliflower rice variation for extra flavor and color. - Egg — lightly beaten for fluffy, golden fried rice.
- Shallot (or spring onion) — finely chopped for mild onion flavor and freshness.
- Sesame oil — toasted sesame oil for nutty aroma.
- Salt & pepper — to season to taste.
Miso glaze Options
Choose one of these three glaze variations depending on your ingredients and dietary needs:
- Pantry-Friendly – no mirin or sake required (this is the version used in this blog).
- Traditional – classic Japanese-style miso glaze with mirin.
- Keto-Friendly – low-carb version using monk fruit sweetener.
Each version can be made with red or white miso for different flavor profiles — Red miso has a richer, deeper umami, while white miso is milder and slightly sweeter.

Pantry-friendly miso sauce ingredients using golden syrup, miso paste, sugar, and water. 
Ingredients for a traditional-style miso sauce using hon mirin, sake, miso paste, sugar, and water. 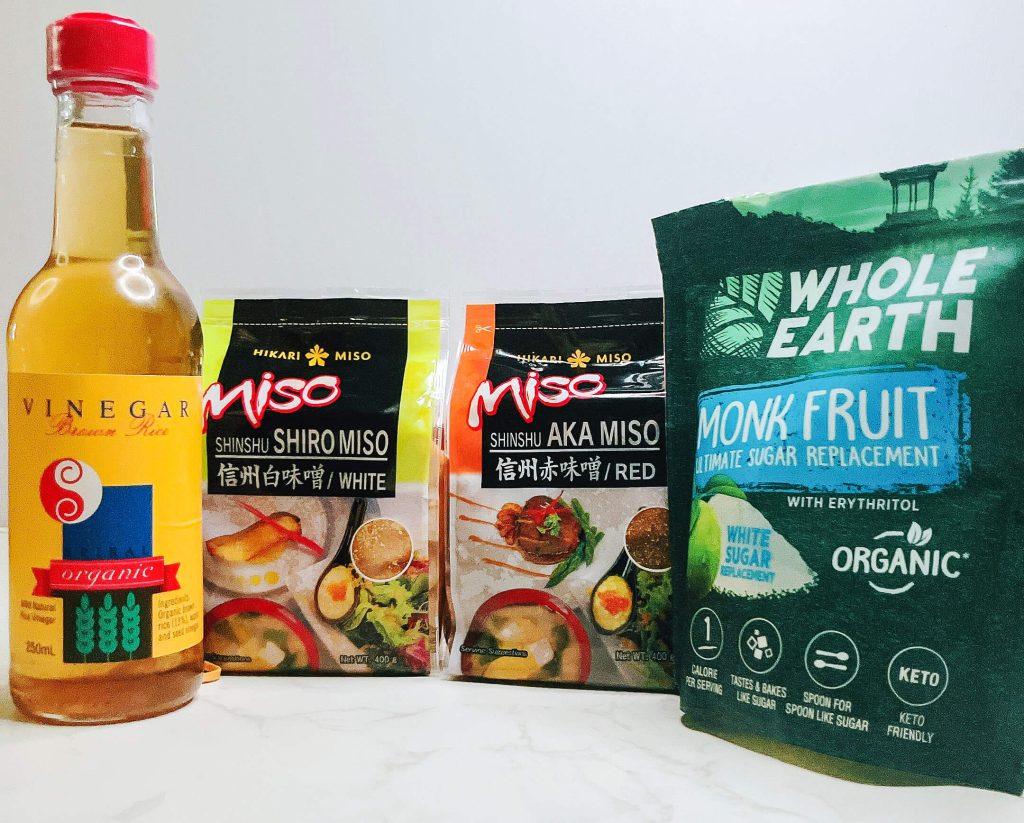
Packaged ingredients used for keto-friendly miso sauce — including red miso, monk fruit sweetener, rice vinegar.
1. Pantry Version (No Mirin): (Great if you don’t have mirin or sake — this is the version used in this blog)
- 80 g (2.8 oz) red or white miso
- 10 g (0.35 oz) golden syrup
- 50 g (1.75 oz) sugar
- 16 g (0.56 oz) water
2. Traditional Version: (Classic Japanese-style miso glaze)
- 80 g (2.8 oz) red or white miso
- 15 g (0.53 oz) mirin
- 50 g (1.75 oz) sugar
- 10 g (0.35 oz) Sake
3. Keto-Friendly Version: (Low-carb alternative)
- 80 g (2.8 oz) miso
- 50 g (1.8 oz) monkfruit sweetener
- 15 g (0.53 oz) water
- 2.5 g (0.09 oz) rice vinegar
Notes:
- Use red miso for a stronger umami punch, or white miso for a milder, sweeter glaze.
- Glaze thickness can be adjusted by adding a little extra water if needed.
- If using the Keto Monk Fruit Mix from the Mirin Substitute Guide below, I slightly increase both the sweetener and vinegar to make the sauce stronger in flavor than a strict mirin-to-monk fruit swap.
Sweetener boost: Monk fruit blends can taste lighter than sugar once cooked, so I use 50 g sweetener instead of the exact conversion for a richer, rounder sweetness.
Extra vinegar: I add 2.5 g rice vinegar total — slightly more than the standard mix — to intensify the sauce and give it a sharper, more pronounced flavor.
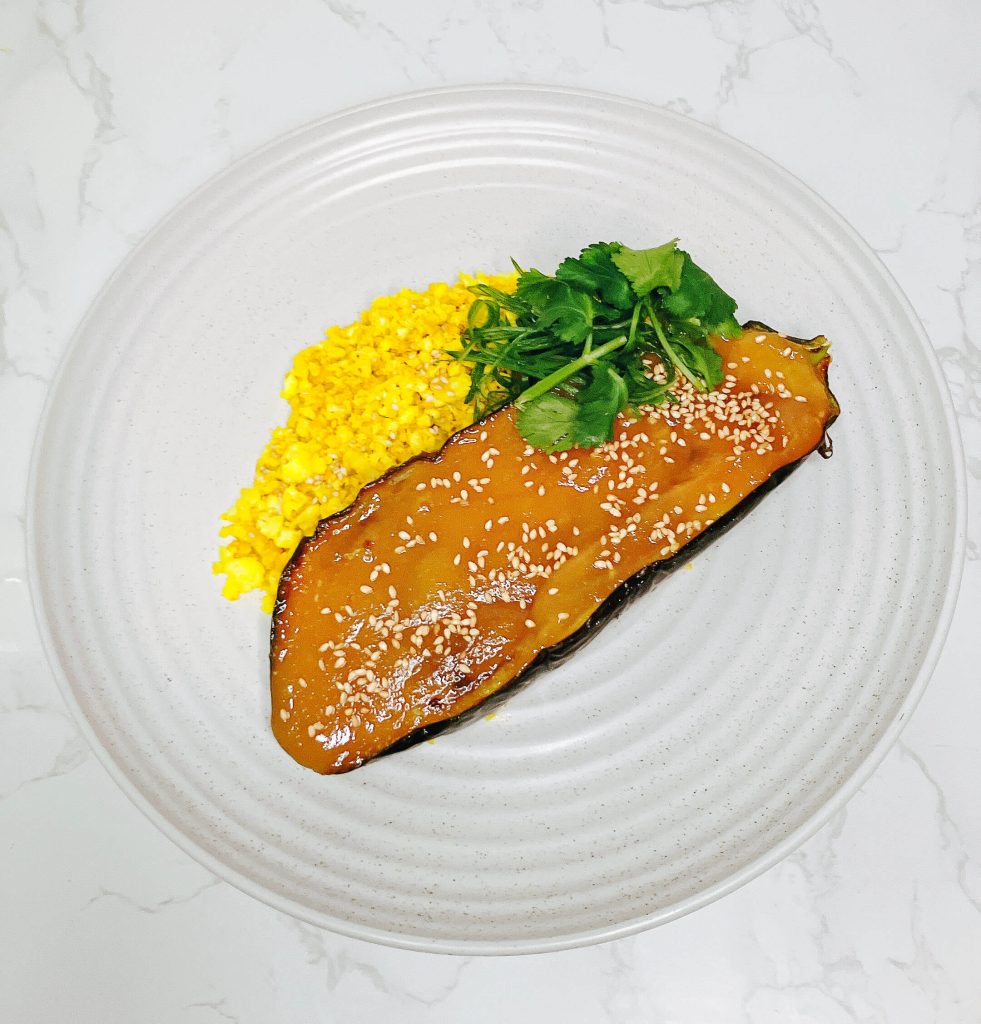
White miso eggplant with golden turmeric cauliflower rice — a gluten-free, vegetarian Japanese-inspired dish.
Miso Sauce comparison
These side-by-side tests show how the type of miso and the glaze variation you choose can affect the color, flavor, and texture of your finished dish.
Red vs. White Miso
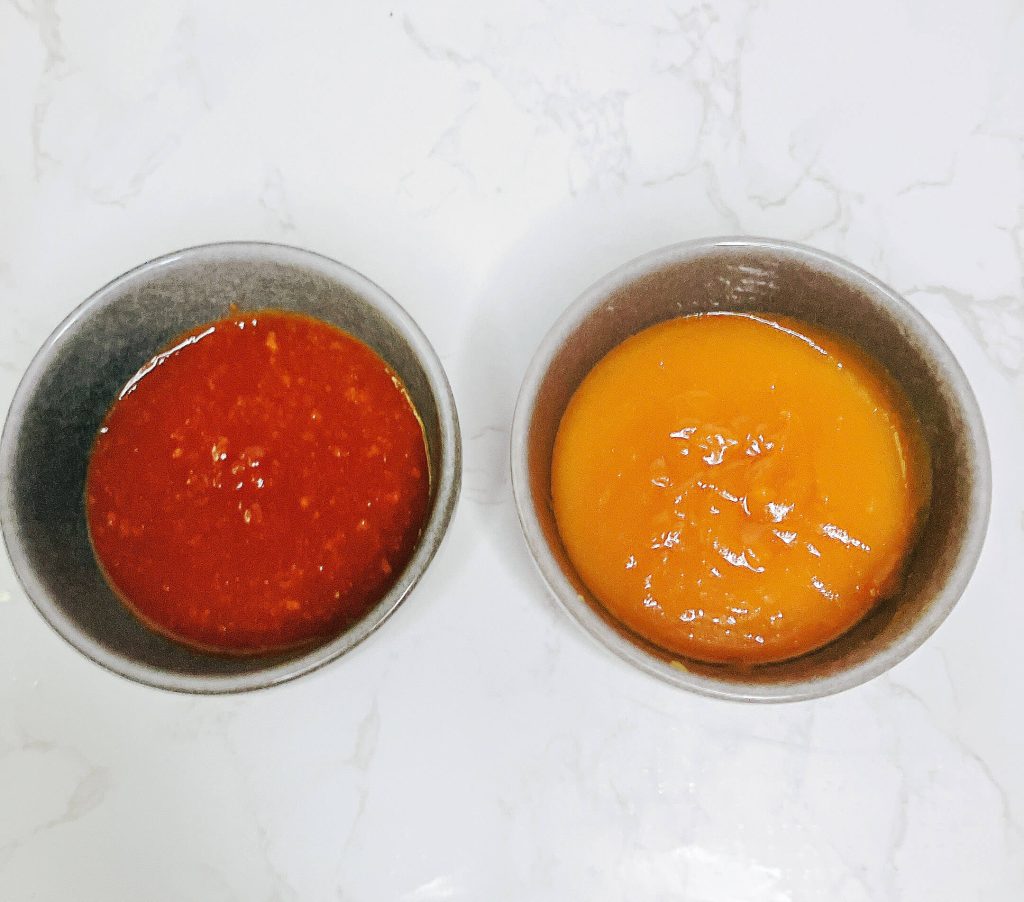
Side-by-side showing the color and texture difference between red and white miso glazes.
- Left (Red Miso Glaze): Deeper color, richer umami, slightly saltier.
- Right (White Miso Glaze): Lighter color, sweeter, milder flavor.
Miso used in this test:
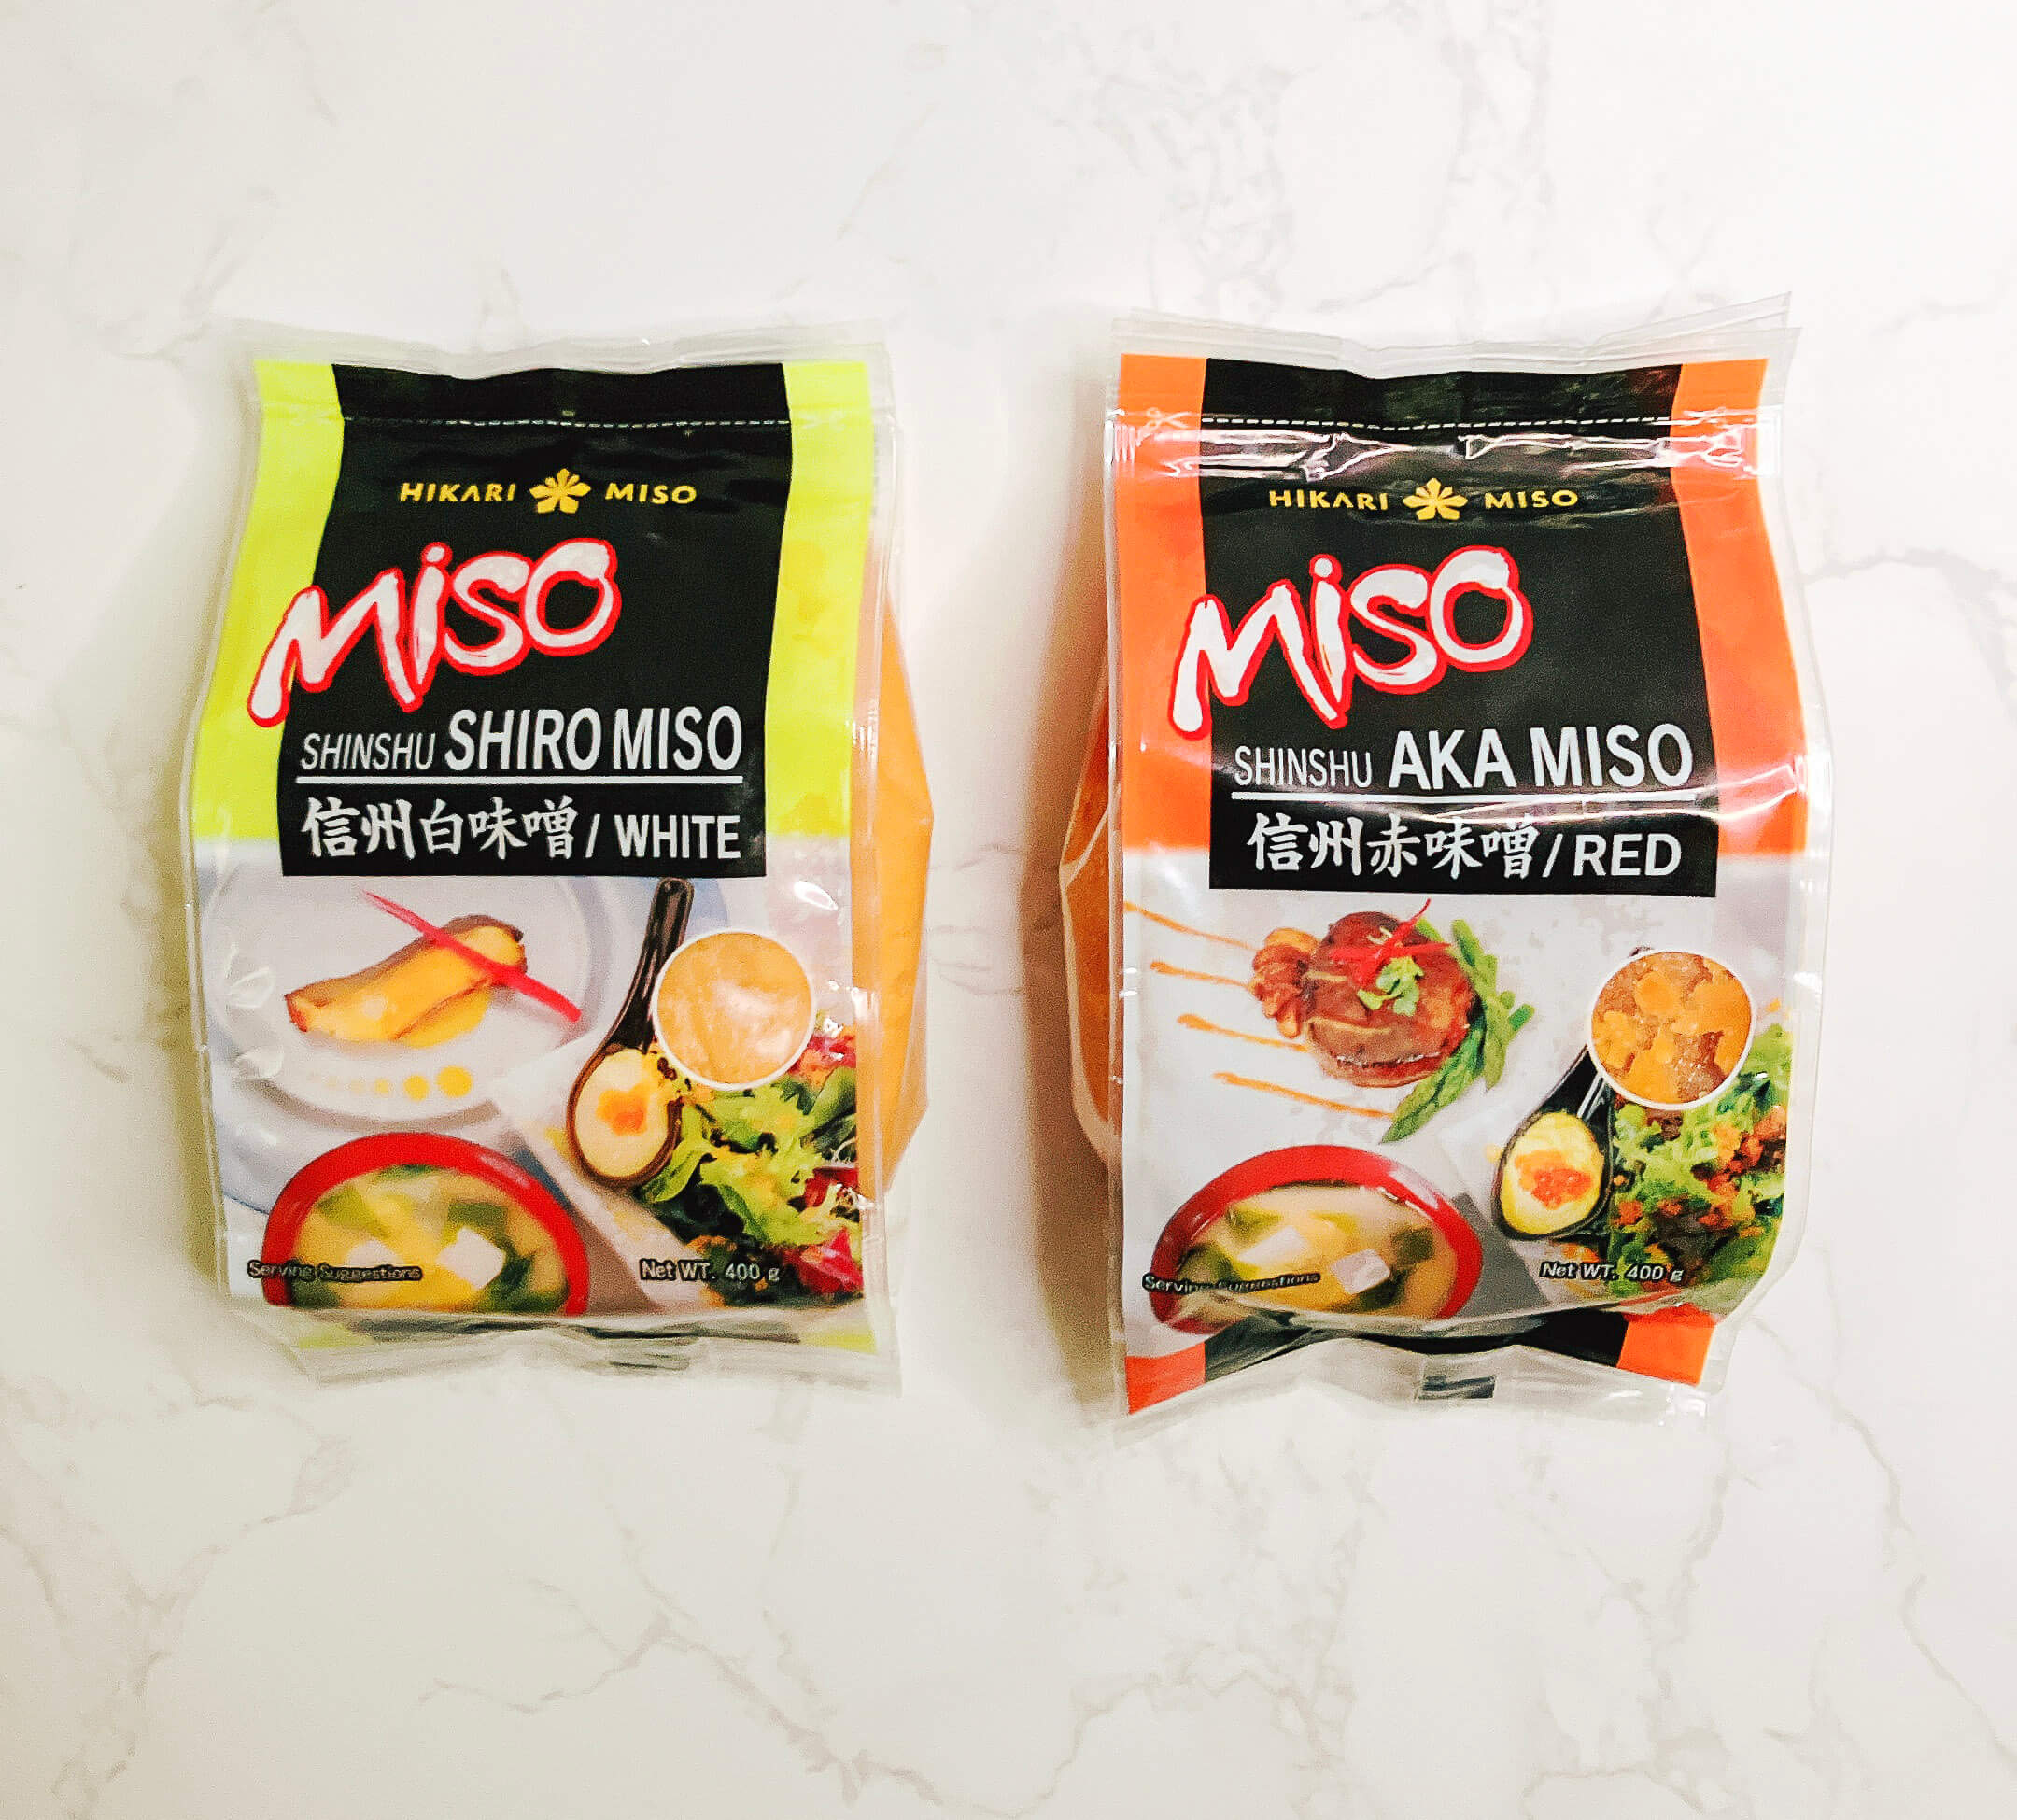
Original packaging for white miso (shiro) and red miso (aka) — choose based on flavor preference
Pantry-Friendly vs. Keto-Friendly

Side-by-side showing keto-friendly and pantry-friendly miso glazes.
- Left (Keto-Friendly Glaze): Lighter color, less glossy due to sweetener difference.
- Right (Pantry-Friendly Glaze): Slightly darker and shinier from sugar caramelization.
Note: The Traditional Miso Glaze (made with mirin and sake) has the same color and texture as the Pantry-Friendly version, so they are visually identical.
In this blog recipe, I used the Pantry-Friendly version (made with golden syrup) for convenience and great flavor.
Mirin substitute Guide

No mirin? Use these exact swaps for the most common recipe amounts.
Option 1 – Golden Syrup or Honey Mix
Mix 5 parts syrup with 3 parts water. Combine before adding to your recipe.
| Mirin in Recipe | Golden Syrup / Honey | Water |
|---|---|---|
| 100 g (7 tbsp / 3.5 oz) | 62.5 g (4 tbsp / 2.2 oz) | 37.5 g (2 tbsp + 1 tsp / 1.3 oz) |
| 50 g (3.5 tbsp / 1.75 oz) | 31 g (2 tbsp / 1.1 oz) | 19 g (1 tbsp + 1 tsp / 0.67 oz) |
Option 2 – Corn Syrup Swap
Replace mirin 1:1 with corn syrup:
- 100 g mirin → 100 g corn syrup (3.5 oz / 7 tbsp)
- 50 g mirin → 50 g corn syrup (1.75 oz / 3.5 tbsp)
Option 3 – Keto Monk Fruit Mix (low-carb)
Mix 7 parts monk fruit sweetener with 7 parts water + 1 part rice vinegar.
| Mirin in Recipe | Monk Fruit Sweetener | Water | Rice Vinegar |
|---|---|---|---|
| 100 g | 48 g (3.2 tbsp / 1.7 oz) | 48 g (3 tbsp + 1 tsp / 1.7 oz) | 7 g (1½ tsp / 0.25 oz) |
| 50 g | 24 g (1.6 tbsp / 0.85 oz) | 24 g (1½ tbsp / 0.85 oz) | 3.5 g (¾ tsp / 0.12 oz) |
Chef’s Note: Golden syrup is closest in flavor to mirin, but honey or corn syrup work fine because the sugar level is similar.
Step by step Guide : Cauliflower Fried Rice with Miso Eggplant
Miso Eggplant Step by Step
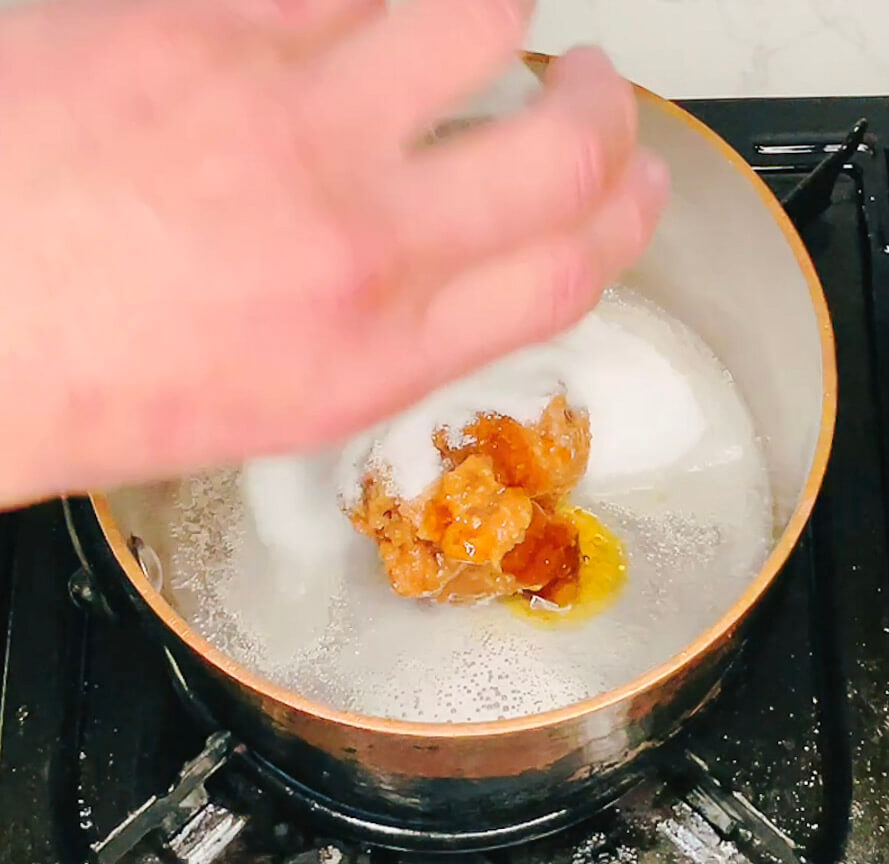
Step 1 —Add pantry miso glaze ingredients to the pot. 
Step 2 — Cook the miso glaze. 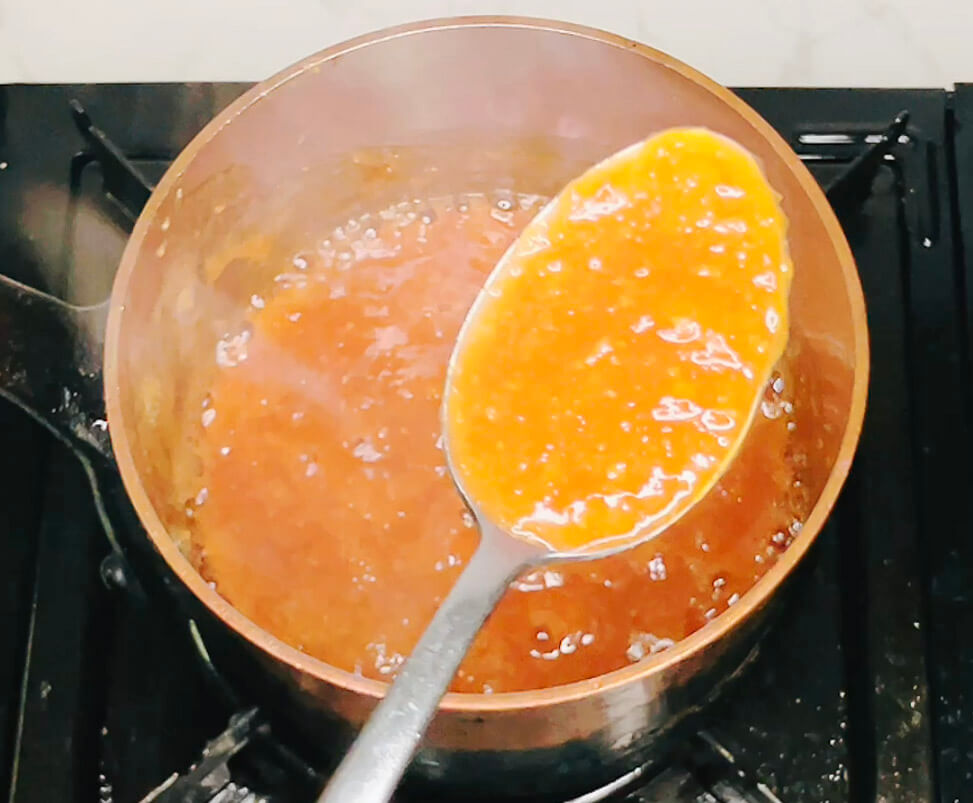
Step 3 — Simmer gently for 2–3 minutes to dissolve sugar and blend flavors. 
Step 4 — Cut the eggplant in half lengthwise. 
Step 5 — Cut the back of the eggplant. 
Step 6 — Score the back of the eggplant. 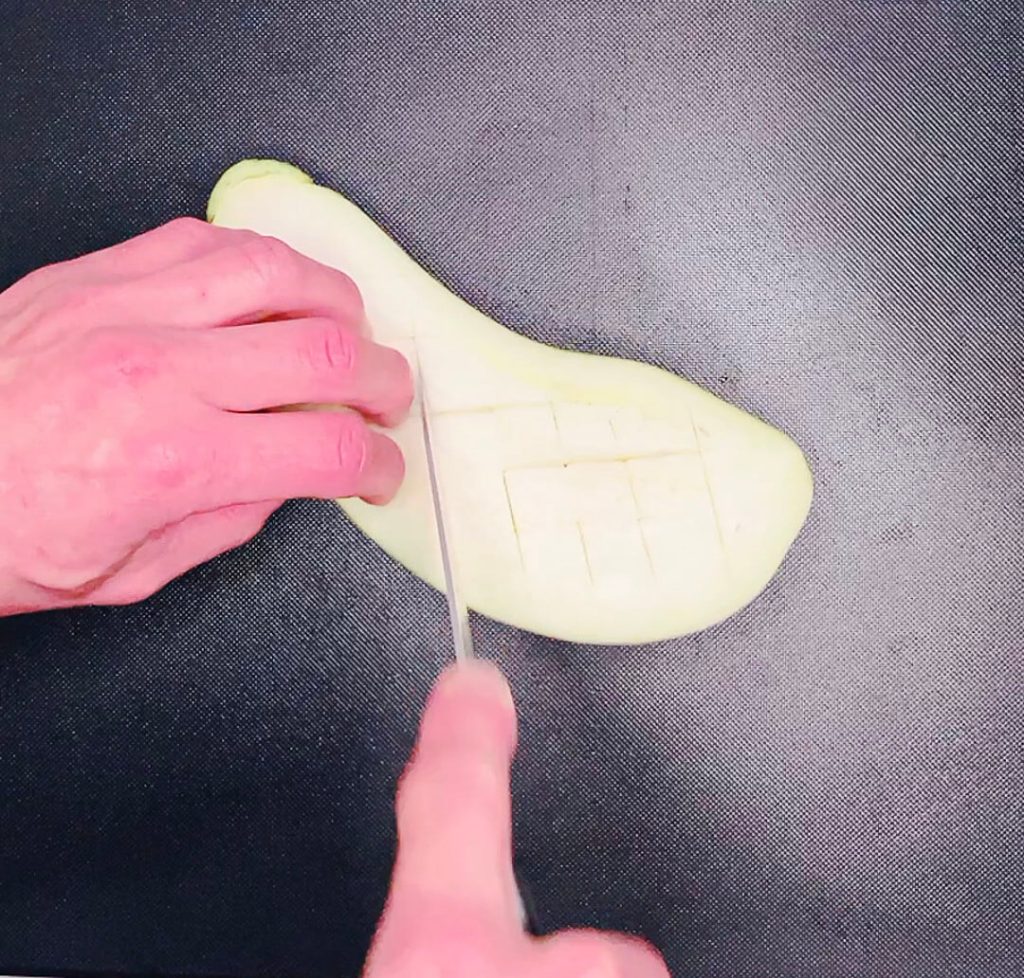
Step 7 — Score the cut side of the eggplant 
Step 8 — Check the depth of the cuts. Cuts should go halfway into the flesh, not all the way through.
Method – Miso Eggplant (Pantry Version)
- Make the glaze: Add miso, golden syrup, sugar, and water to a small saucepan. (See Mirin Substitute below for the keto version.)
- Place over medium heat, stirring until the sugar starts to dissolve.
- Simmer gently for 2–3 minutes to fully dissolve the sugar and allow the flavours to settle. Scoop with a spoon to check the glaze texture — it should look smooth and glossy.
- Cut the eggplant in half lengthwise. Trim a thin strip from the skin side so each half sits flat.
- Score the skin side with shallow diagonal cuts, then score the cut side in a crosshatch pattern without piercing through.
- Brush oil over both sides of the eggplant, making sure it gets into the cuts.
Air fryer Method
Place eggplant halves in the air fryer basket, cut side up, and cook at 180 °C (356 °F) for 12 minutes until tender and lightly golden.
Brush generously with glaze, then air fry at 200 °C (392 °F) for 2 minutes until bubbling and glossy.

Step 9 — Brush oil onto the back of the eggplant. 
Step 10 — Brush oil evenly onto the cut side of the eggplant to prepare for air frying 
Step 11 — Air fry the eggplant halves at 180 °C for 12 minutes, then remove when tender and lightly golden. 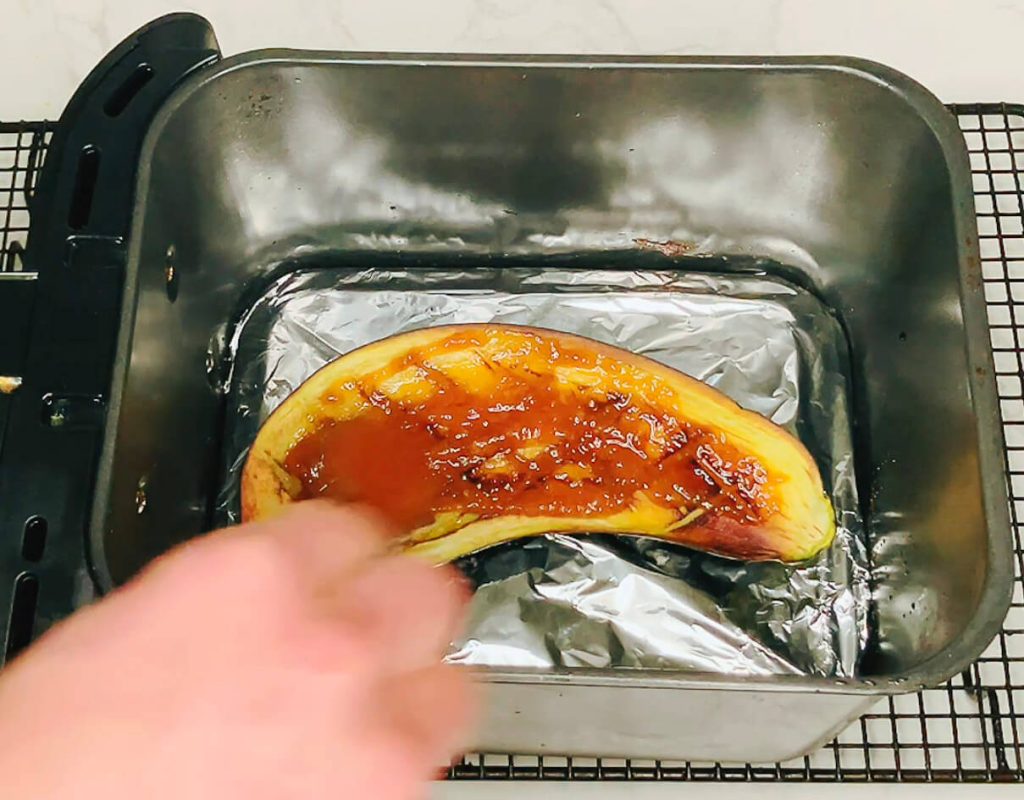
Step 12 — Brush generously with glaze, then air fry again to caramelize. 
Step 13 — Air fry the miso-coated eggplant at 200 °C for 2 minutes to caramelize
Oven Method
7. Place eggplant halves cut side up on a lined baking tray and roast at 190 °C fan (375 °F) for 20 minutes until tender and lightly golden.
8. Brush generously with glaze, then return to the oven at 200 °C fan (392 °F) for 5 minutes until bubbling and glossy.
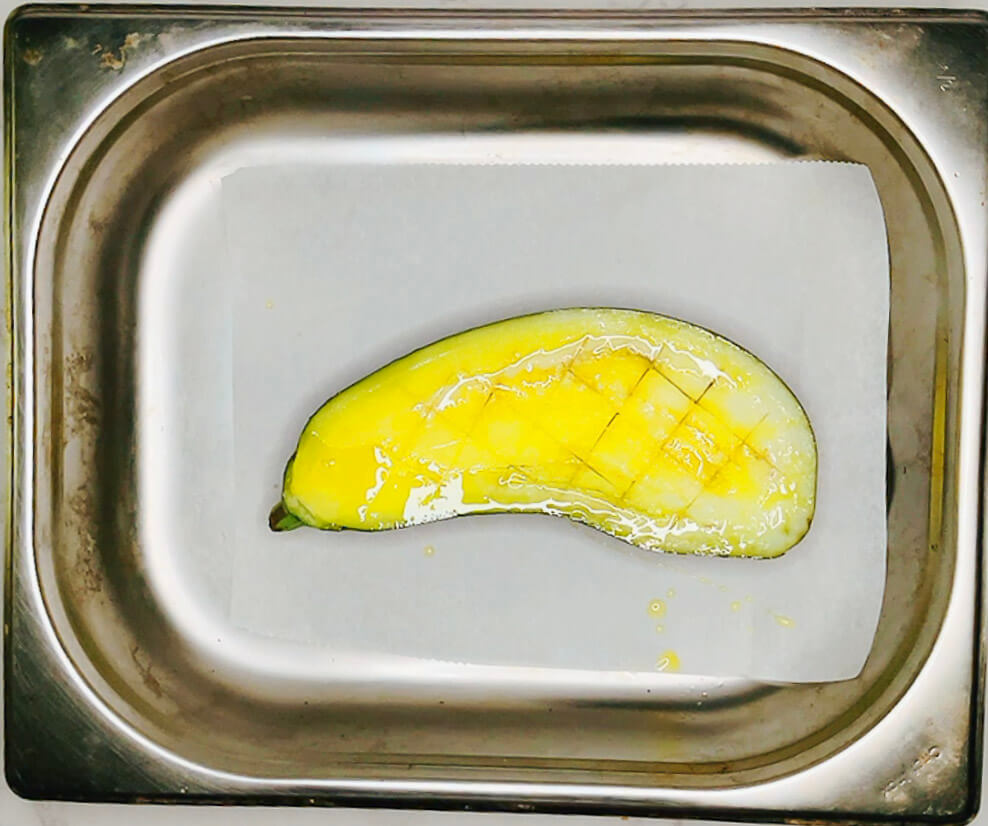
Step 10 (Oven Method) — Brush oil onto both sides of the eggplant, then roast at 190 °C fan for 20 minutes. 
Step 11 (Oven Method) — Roast the eggplant at 190 °C fan for 20 minutes until tender. 
Step 12 (Oven Method) — Brush miso sauce onto the roasted eggplant after the first bake. 
Step 13 (Oven Method) — Bake the miso-coated eggplant at 200 °C fan for 5 minutes to caramelize.
Cauliflower Fried Rice Step by Step

Step 1 — Prepare all ingredients for cauliflower fried rice with miso eggplant: cauliflower rice, fresh egg, spring onion, and sesame oil. 
Step 2 — Heat oil in a non-stick frying pan, the first step for stir-frying cauliflower fried rice with miso eggplant. 
Step 3 — Lightly scramble the egg in the heated pan before adding cauliflower rice for the miso eggplant fried rice. 
Step 4 — Add cauliflower rice to the scrambled egg and stir to combine for the miso eggplant fried rice base. 
Step 5 — Stir-fry the cauliflower rice and scrambled egg together until the rice is fluffy and lightly golden. 
Step 6 — Add sesame oil to the cauliflower fried rice for a fragrant, nutty finish that complements the miso eggplant. 
Step 7 — Add fresh green onion to the cauliflower fried rice for a burst of color and flavor to pair with miso eggplant. 
Step 8 — A close-up of the fluffy cauliflower fried rice with egg and green onion, ready to serve alongside miso eggplant. 
Step 9 — Plate the cauliflower fried rice, ready to serve alongside miso eggplant.
Method
- Prep the ingredients: Have your cauliflower rice, eggs, chopped spring onion, neutral cooking oil, and sesame oil ready.
- Heat the neutral oil in a nonstick skillet over medium heat.
- Add the beaten eggs to the pan and lightly scramble until just set.
- Add the cauliflower rice to the pan and season with salt and pepper.
- Stir-fry with the egg until the rice is fluffy and lightly golden, about 4–5 minutes.
- Drizzle in the sesame oil, then stir in the chopped spring onion for a fresh burst of flavor.
- Serve hot alongside miso eggplant.
Tip: Want to learn how to make raw cauliflower rice or explore other flavor variations? See my Cauliflower Rice Guide.
Assemble
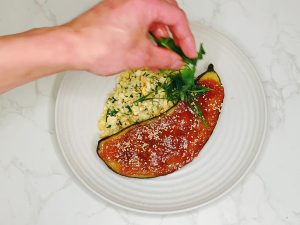
Spoon the cauliflower fried rice onto one side of the plate. Arrange the miso-glazed eggplant beside the rice, glaze side facing up. Garnish with fresh cilantro for a pop of color and freshness. Serve the miso eggplant cauliflower fried rice immediately while warm.


Final Thought
This Cauliflower Fried Rice with Miso Eggplant is comforting yet light enough for any night of the week. It’s vegetarian and can be gluten-free when made with gluten-free miso. You can easily make it vegan by omitting the egg from the cauliflower fried rice or choosing another flavor from my Cauliflower Rice Guide.
The miso glaze is simple to customize — go pantry-friendly if you don’t have mirin or sake, keep it classic with the traditional version, or make it keto-friendly. You can also choose between white miso for a gentle sweetness or red miso for a richer, bolder flavor.
If you’ve ever run out of mirin, the Mirin Substitute Guide in this post is worth bookmarking — it’s a handy reference for so many Japanese recipes. However you make it, this dish stays quick, adaptable, and full of flavor.
I hope you enjoy cooking this cauliflower fried rice with miso eggplant as much as I enjoyed creating it — and that it inspires you to try your own delicious variations at home.
Cauliflower Fried Rice with Miso Eggplant
Equipment
- 1 air fryer for air fryer method
- 1 baking tray for oven method
- 1 nonstick skillet or frying pan for cauliflower fried rice
- 1 Small pot for miso sauce
- 1 Sharp knife
- 1 Cutting Board
- 1 wooden spoon
Ingredients
Miso Eggplant
- 80 g Red or White miso paste
- 10 g Golden Syrup
- 50 g Sugar
- 16 g Water
- 1 Large eggplant about 320g
- 30 g Olive oil extra virgin
Cauliflower Fried Rice
- 250 g Cauliflower Rice
- 2 Large Eggs lightly beaten
- 30 ml Cooking oil I used olive oil
- 10 ml Sesame oil
- 2 Small spring onions
- Salt and pepper to taste
Instructions
Miso Eggplant
- Make the glaze: Add miso, golden syrup, sugar, and water to a small saucepan. (See Mirin Substitute section for keto or traditional versions.)
- Place over medium heat, stirring until the sugar starts to dissolve.
- Simmer gently for 2–3 minutes to fully dissolve the sugar and allow the flavors to settle. Scoop with a spoon to check the glaze — it should look smooth and glossy.
- Cut the eggplant in half lengthwise. Trim a thin strip from the skin side so each half sits flat.
- Score the skin side with shallow diagonal cuts, then score the cut side in a crosshatch pattern without piercing through. (see note)
- Brush oil over both sides of the eggplant, making sure it gets into the cuts.
- Air Fryer Method Place eggplant halves cut side up in the air fryer basket and cook at 180 °C (356 °F) for 12 minutes until tender and lightly golden.
- Brush generously with glaze, then air fry at 200 °C (392 °F) for 2 minutes until bubbling and glossy.
- Oven Method Place eggplant halves cut side up on a lined baking tray and roast at 190 °C fan (375 °F) for 20 minutes until tender and lightly golden.
- Brush generously with glaze, then return to the oven at 200 °C fan (392 °F) for 5 minutes until bubbling and glossy.
Cauliflower Fried Rice
- Prep the ingredients: Have your cauliflower rice, fresh egg, chopped spring onion, neutral cooking oil, and sesame oil ready.
- Heat the neutral oil in a nonstick skillet over medium heat.
- Add the beaten eggs to the pan and lightly scramble until just set.
- Add the cauliflower rice to the pan and season with salt and pepper.
- Stir-fry with the egg until the rice is fluffy and lightly golden, about 4–5 minutes.
- Drizzle in the sesame oil, then stir in the chopped spring onion for a fresh burst of flavor.
- Serve hot alongside miso eggplant.
Assemble
- Spoon the cauliflower fried rice onto plates or bowls.
- Place the miso-glazed eggplant alongside the rice.
- Serve immediately, garnished with extra spring onion or cilantro if you like.
Notes
Thanks for visiting! If you try this recipe, I’d love to hear how it turned out.
Leave a comment or tag me on Instagram @seasonedwithflavor — it makes my day!