Keto Chicken Katsu Curry with Cauliflower Rice – Air Fryer Friendly, Crispy & Low-Carb
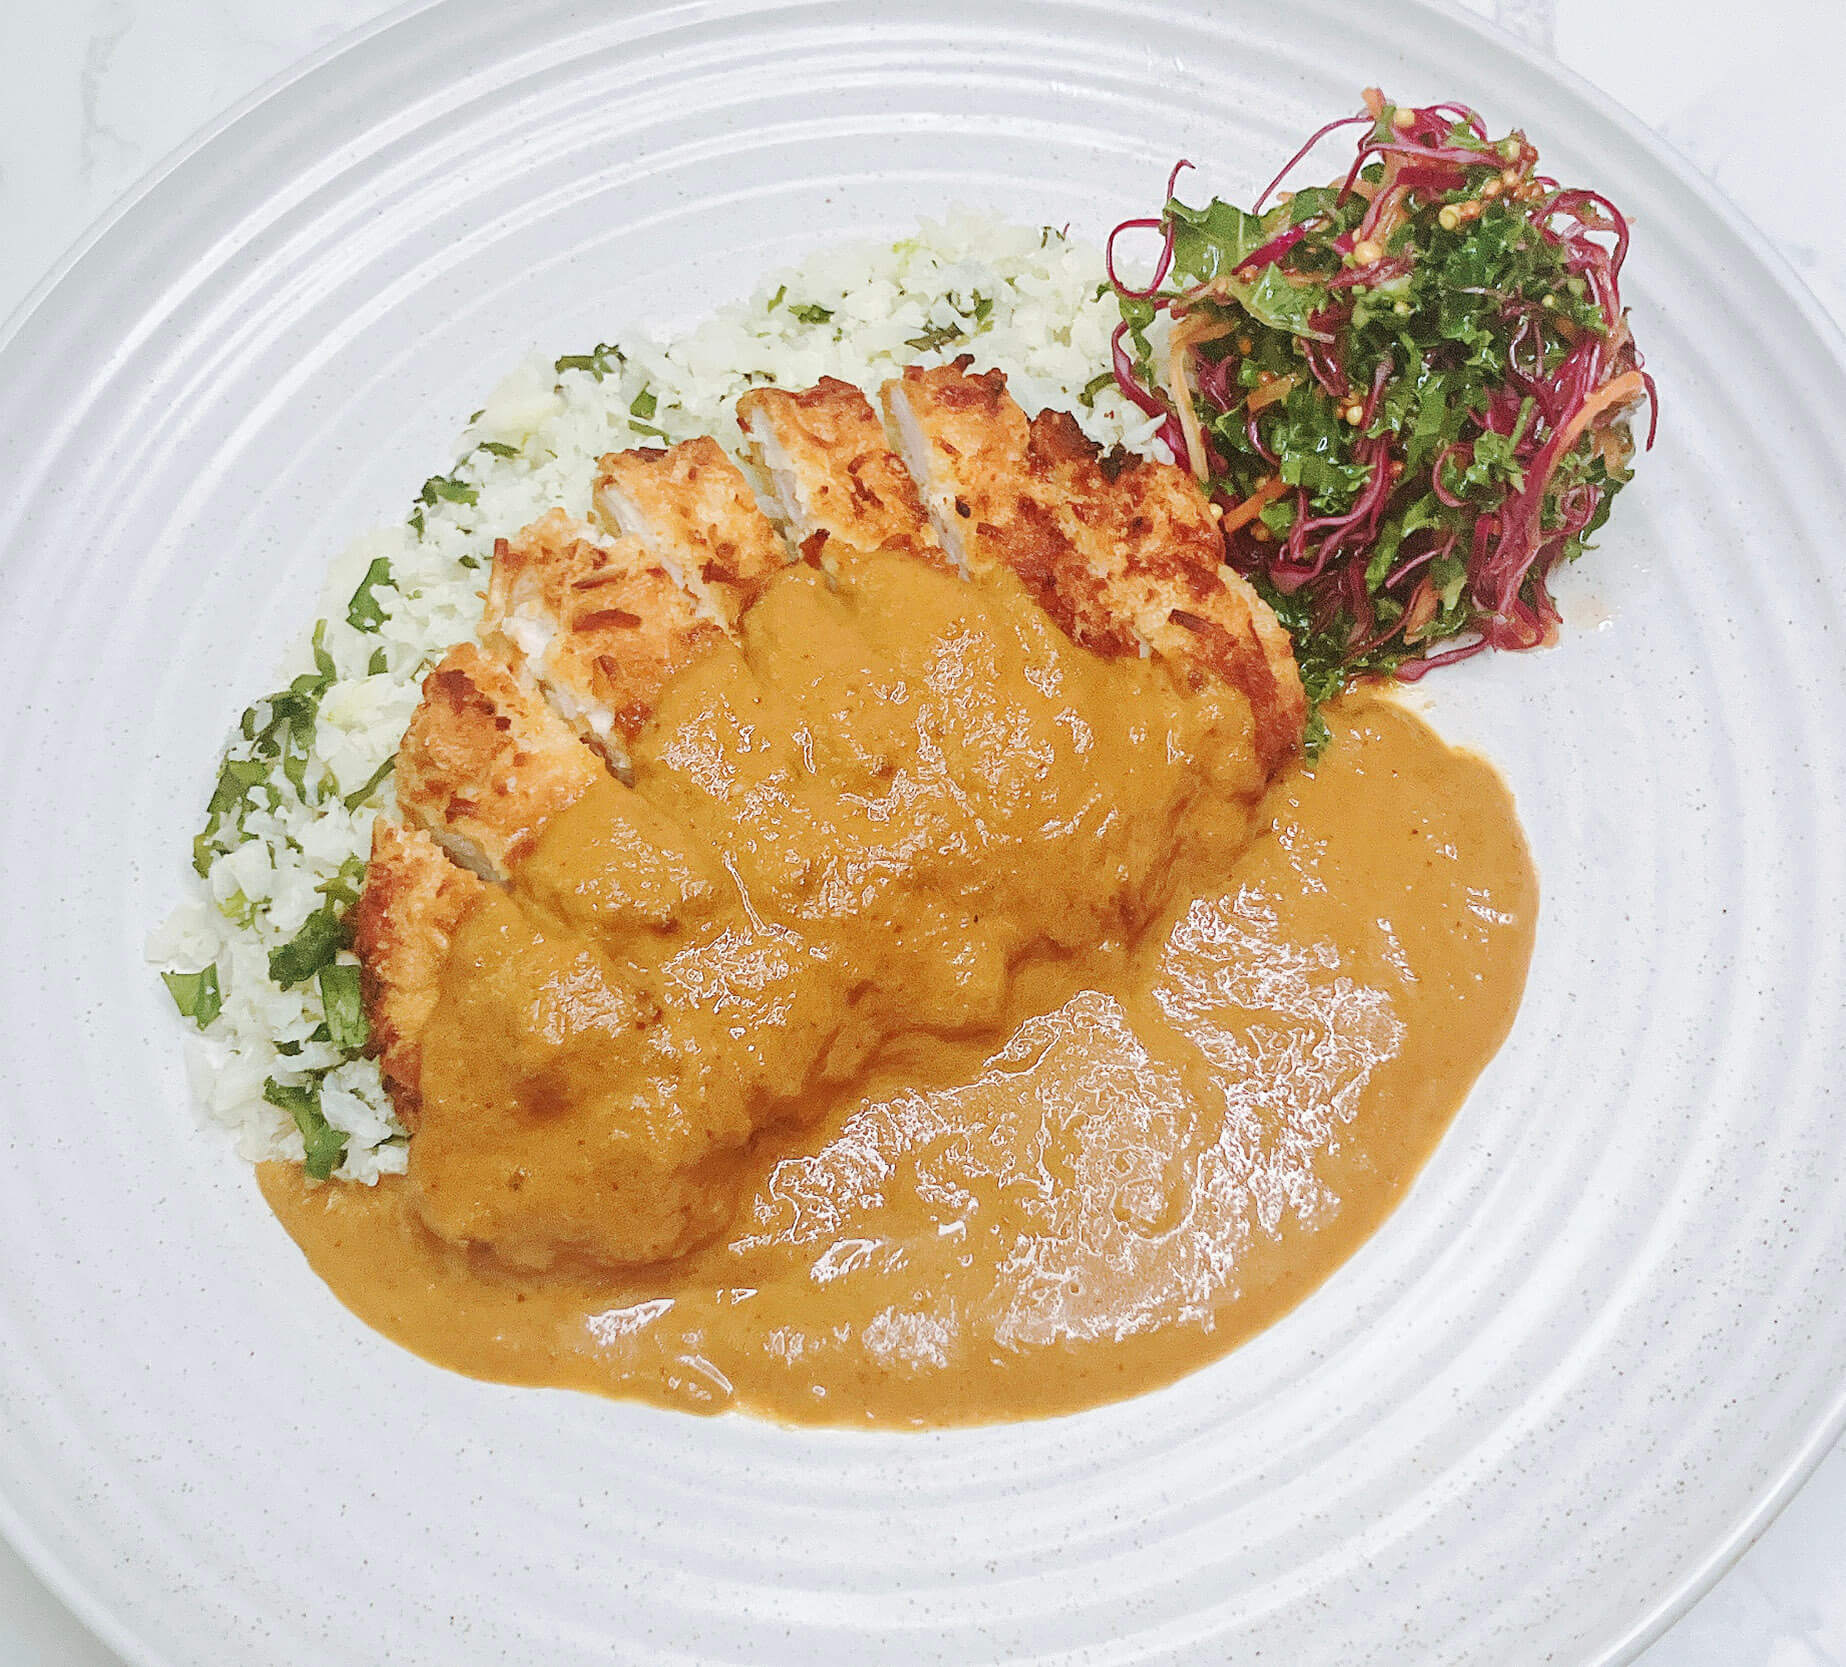
This Keto Chicken Katsu Curry is my lighter take on a Japanese comfort classic — crispy chicken katsu paired with a rich, homemade curry sauce, served over my favorite lime & cilantro cauliflower rice. It’s keto-friendly and gluten-free when made with gluten-free ingredients, yet every bite is just as satisfying as the traditional version.
Most Japanese curries are made with packaged roux blocks, but those are loaded with flour, sugar, and additives. I wanted to create a version that works for readers who are keto, gluten-free, or simply prefer clean ingredients, without losing that cozy Japanese curry flavor. The result? A homemade keto curry sauce that’s creamy, bold, and surprisingly authentic in taste.
For the katsu, I tested several variations — panko vs keto crumb, chicken breast vs thigh, and air fry vs shallow fry. The recipe card below is 100% keto (keto crumb + keto curry), but I’ve included my test results so you can see how it stacks up against the classic.
To balance the richness, I pair the keto chicken katsu curry with my lime & cilantro cauliflower rice (bright, refreshing, and quick to make in the microwave) plus a side of coleslaw. Store-bought slaw works perfectly here — no need to overcomplicate an already generous dish.
At first glance, this might look like a project — but once you know the flow, this keto chicken katsu curry with lime and cilantro cauliflower rice is surprisingly weeknight-friendly. And if you’re keto or gluten-free, you can finally enjoy a full Japanese curry experience without compromise.
Why You’ll Love This keto chicken katsu curry with lime and cilantro cauliflower rice Recipe
- ✅ Keto & Gluten-Free – no panko, no curry roux blocks, no fillers — just clean, homemade flavor.
- ✅ Umami-Rich – caramelized onion, double-concentrated tomato paste, miso, and fish sauce build deep layers of flavor.
- ✅ Balanced – crispy katsu, creamy curry, and zesty lime & cilantro cauliflower rice keep everything light yet satisfying.
- ✅ Customizable – choose breast or thigh, air fry or shallow fry — all tested for you.
- ✅ Healthier Swap – cauliflower rice and keto curry cut carbs but keep comfort.
What You Will Need for Keto Chicken Katsu Curry with Lime & Cilantro Cauliflower Rice
For the Keto Curry Sauce:
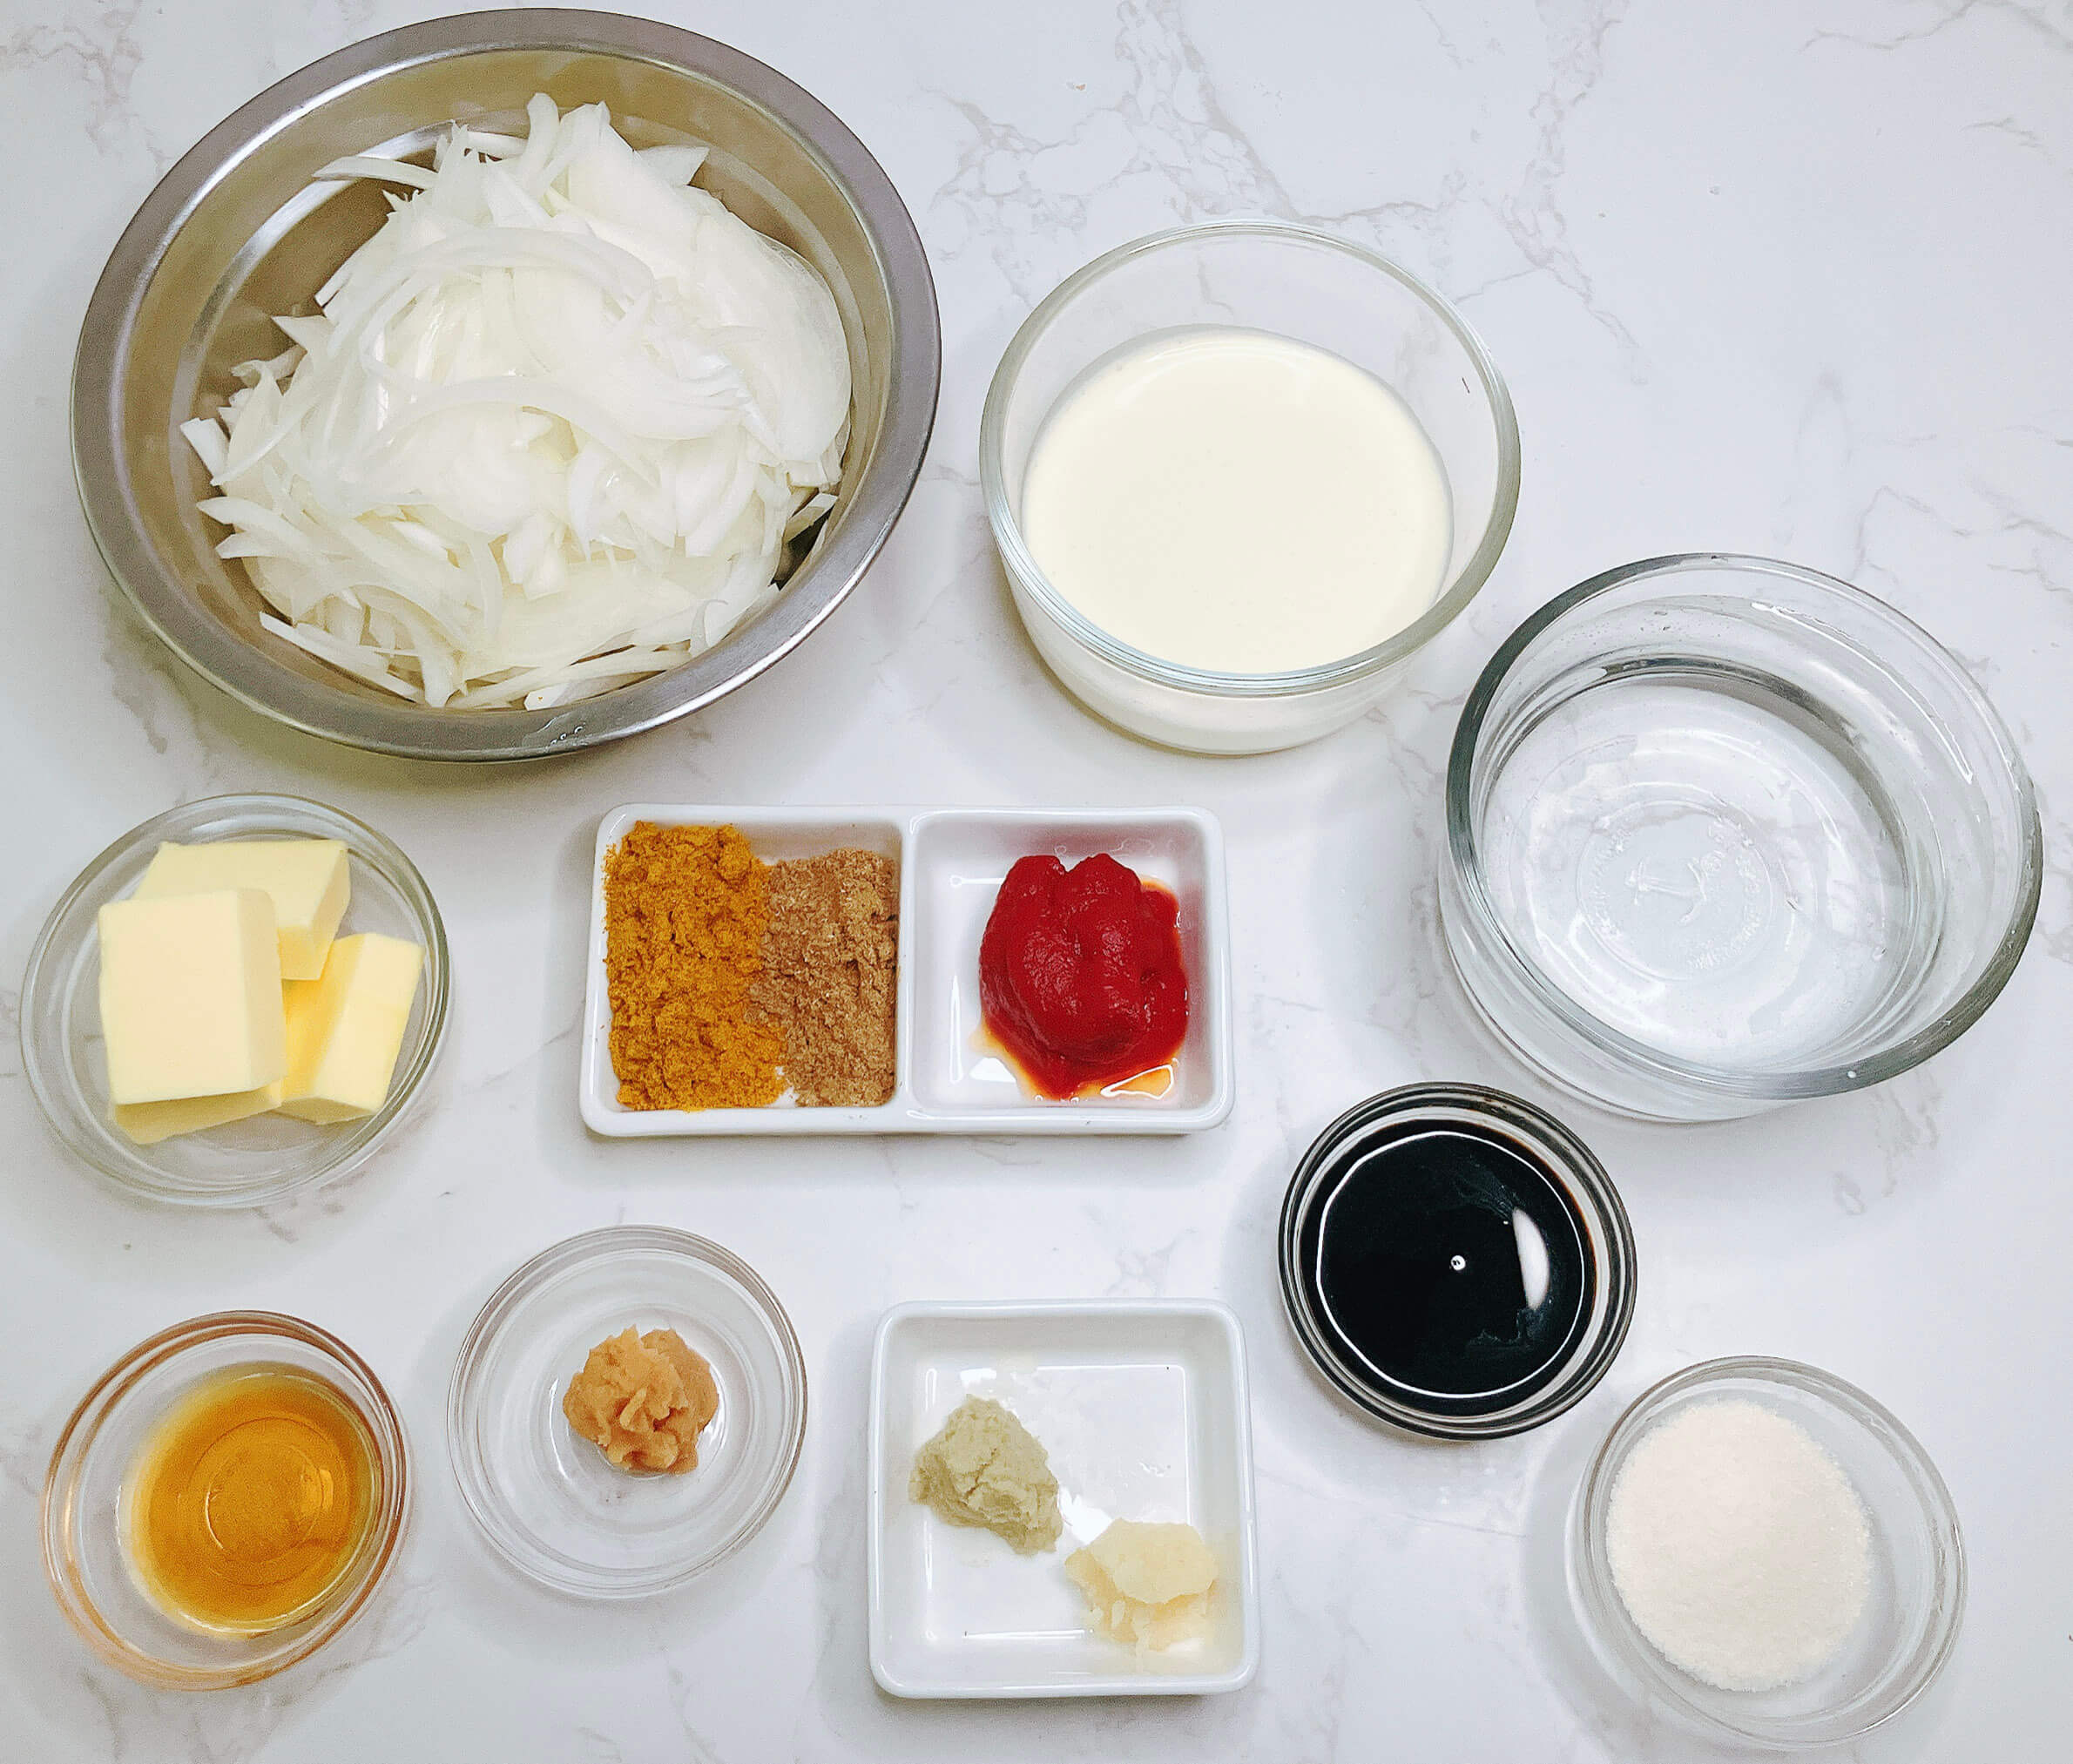
- Butter – rich, silky base.
- Onion, garlic & ginger – classic aromatics for depth.
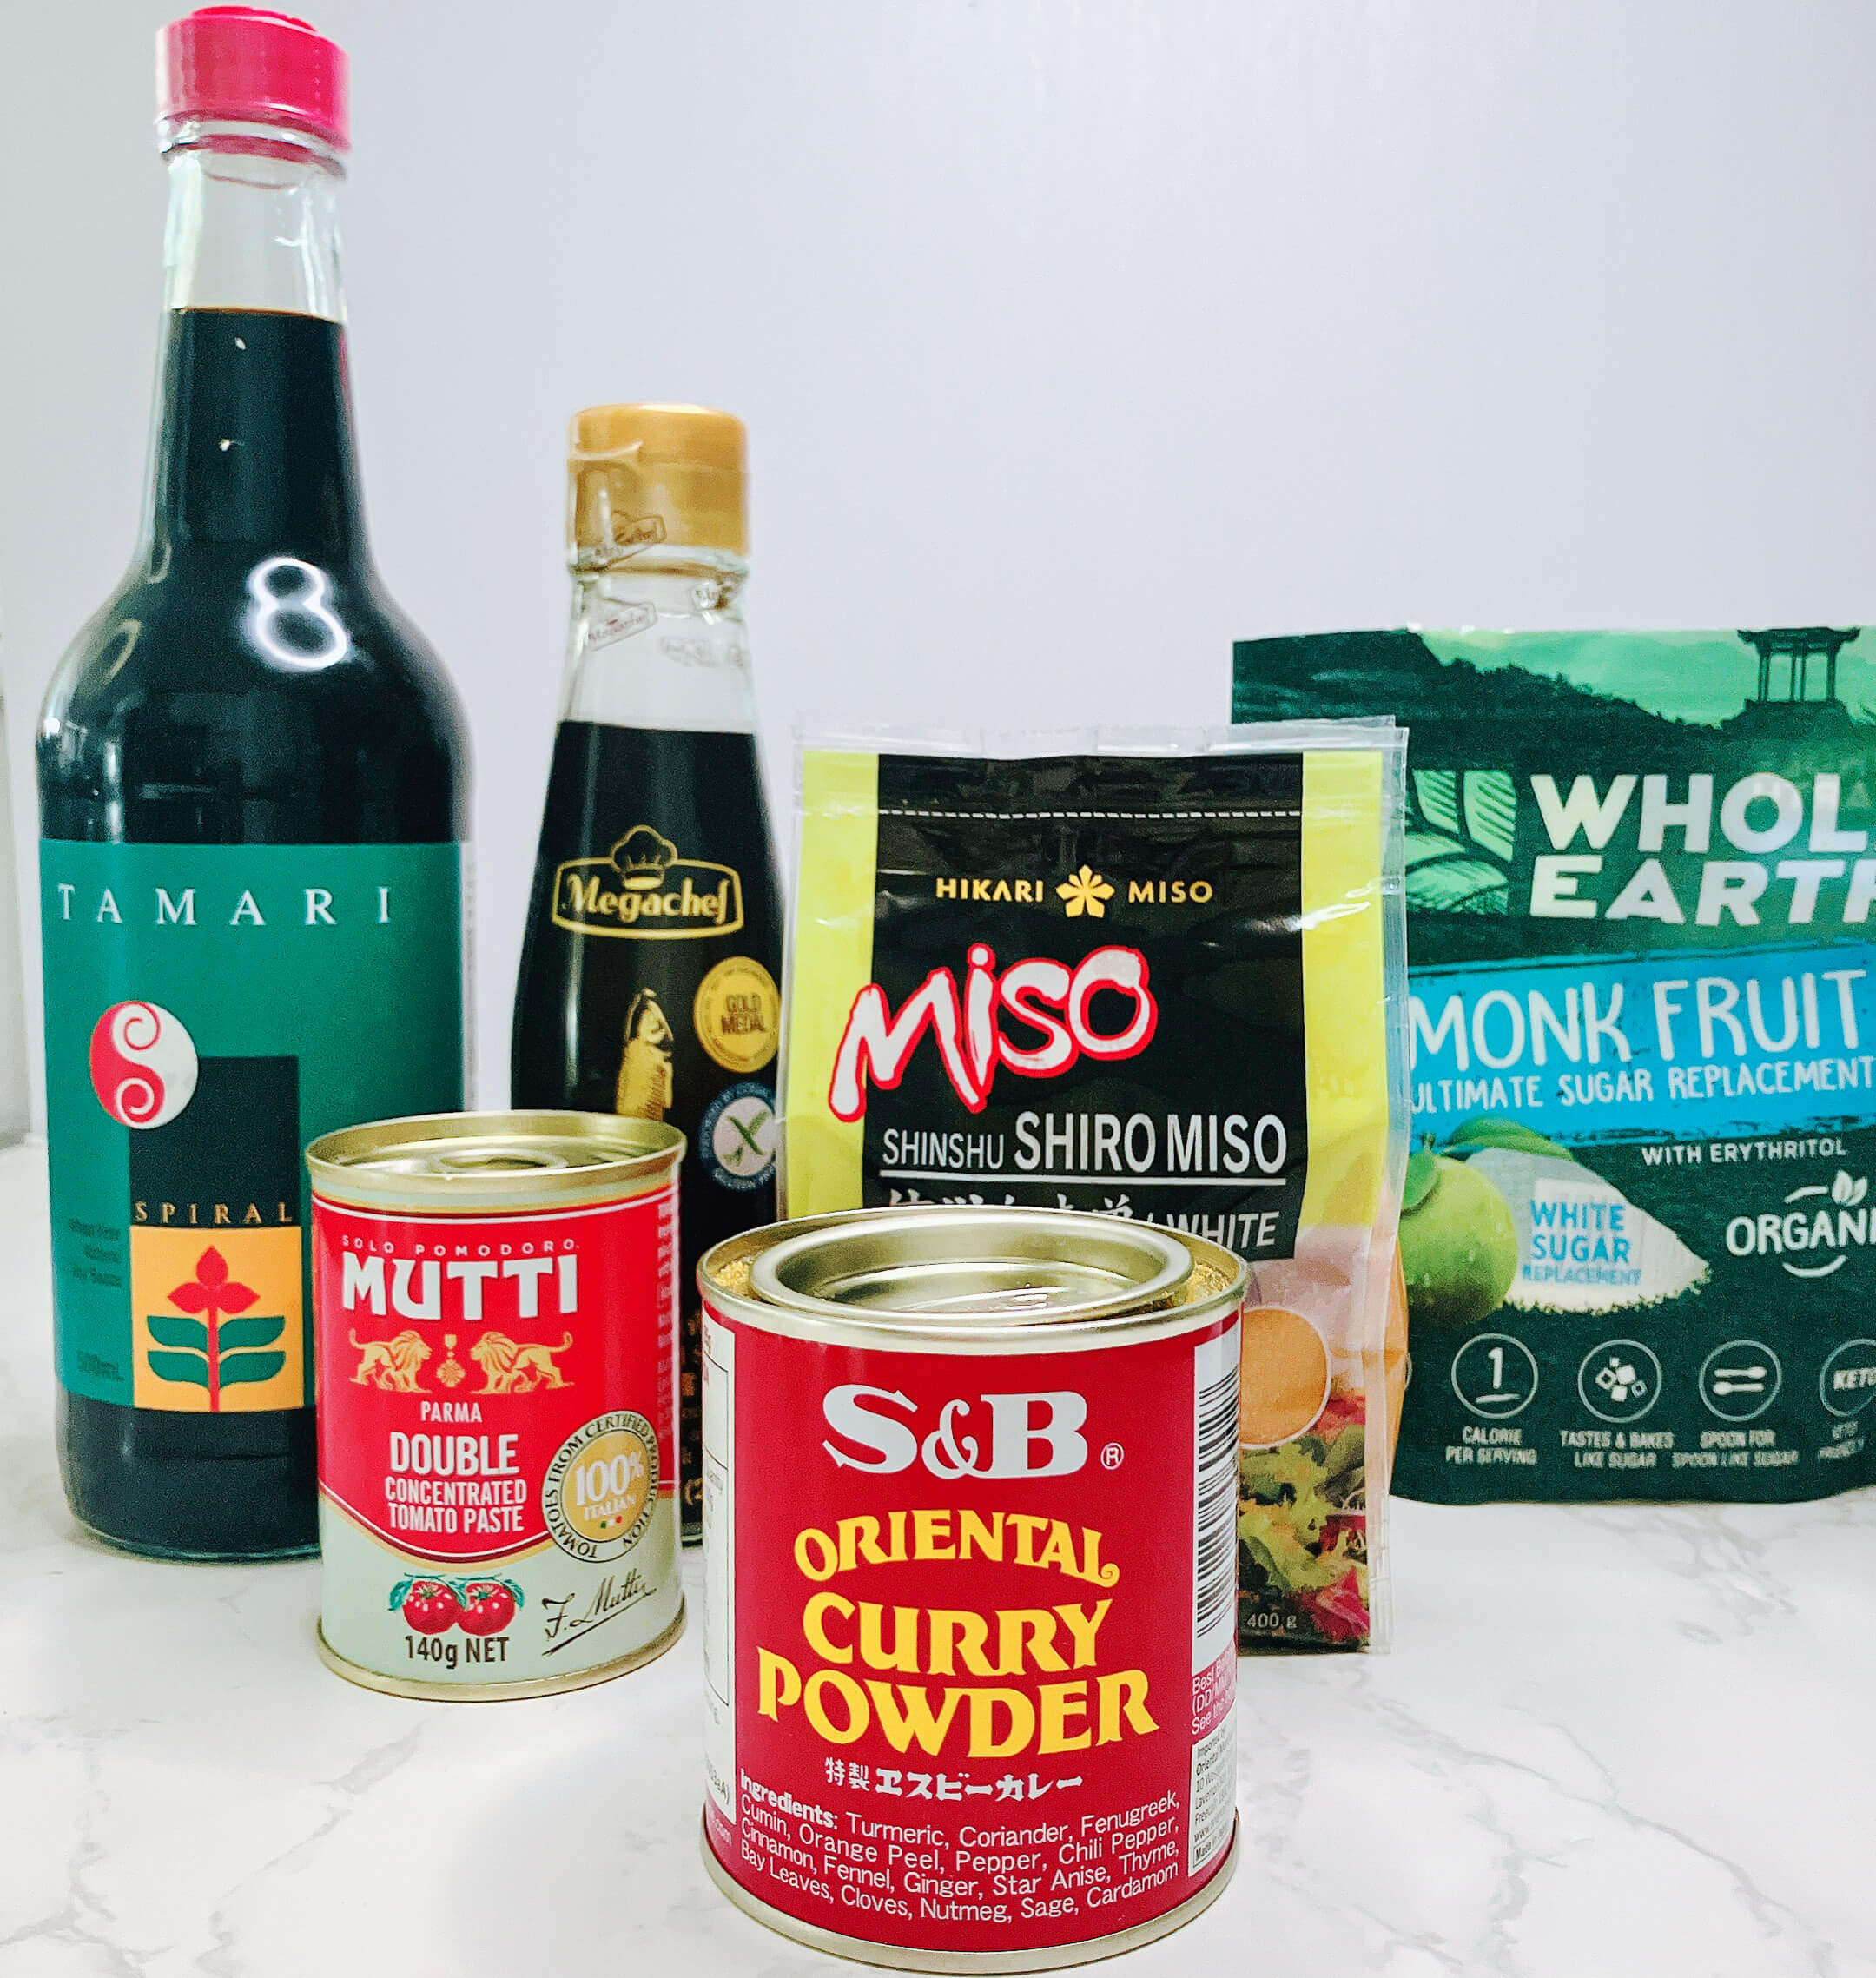
- S&B curry powder + cumin – bold, fragrant curry flavor.
- Double-concentrated tomato paste (Mutti) – tang, color, body.
- Tamari – gluten-free soy alternative (or use soy sauce if not GF).
- Monkfruit sweetener – balances spice without sugar.
- White miso – umami and complexity.
- Fish sauce – secret depth booster.
- Water + double cream – body and smoothness.
For the Keto Chicken Katsu
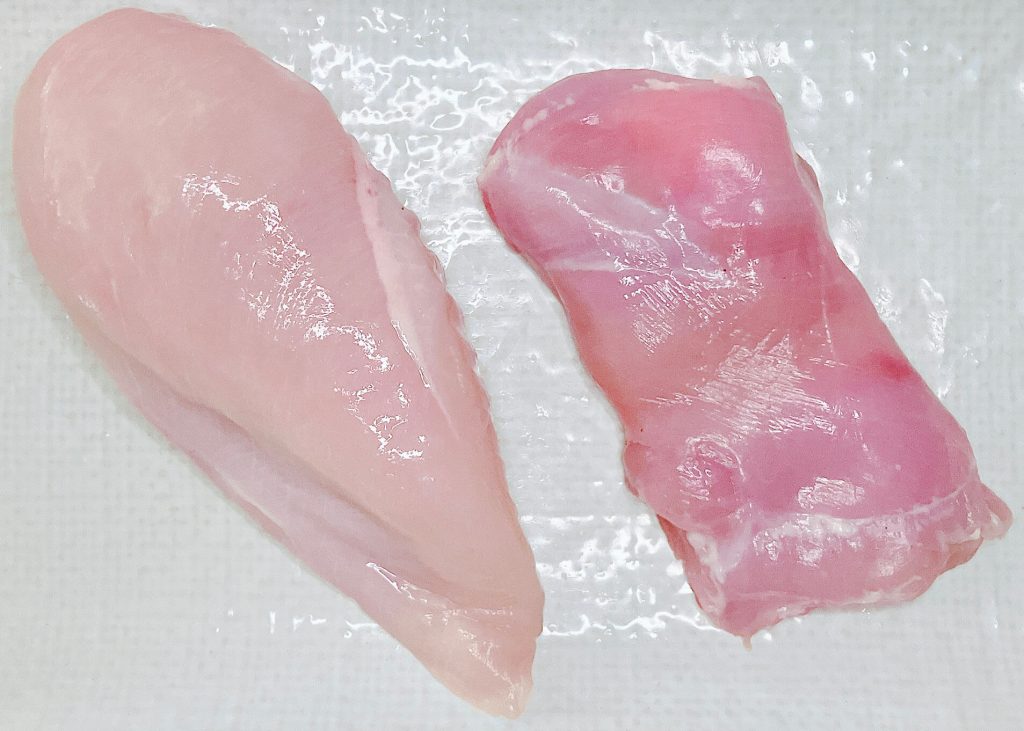
Ingredients for chicken katsu – chicken breast and thigh. 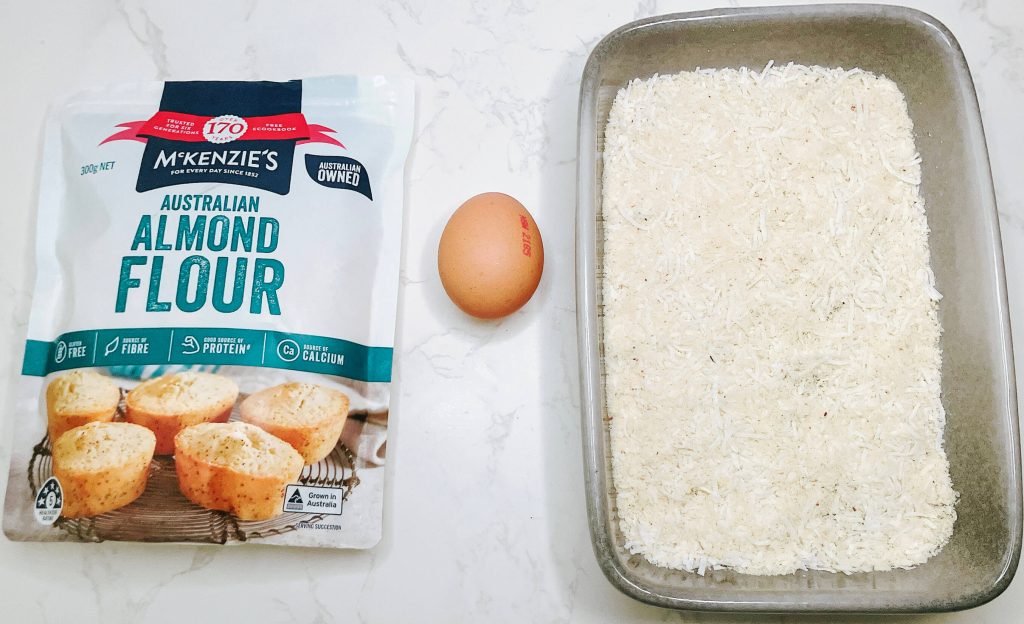
Ingredients for chicken katsu – panko crumbs and keto crumb mix. 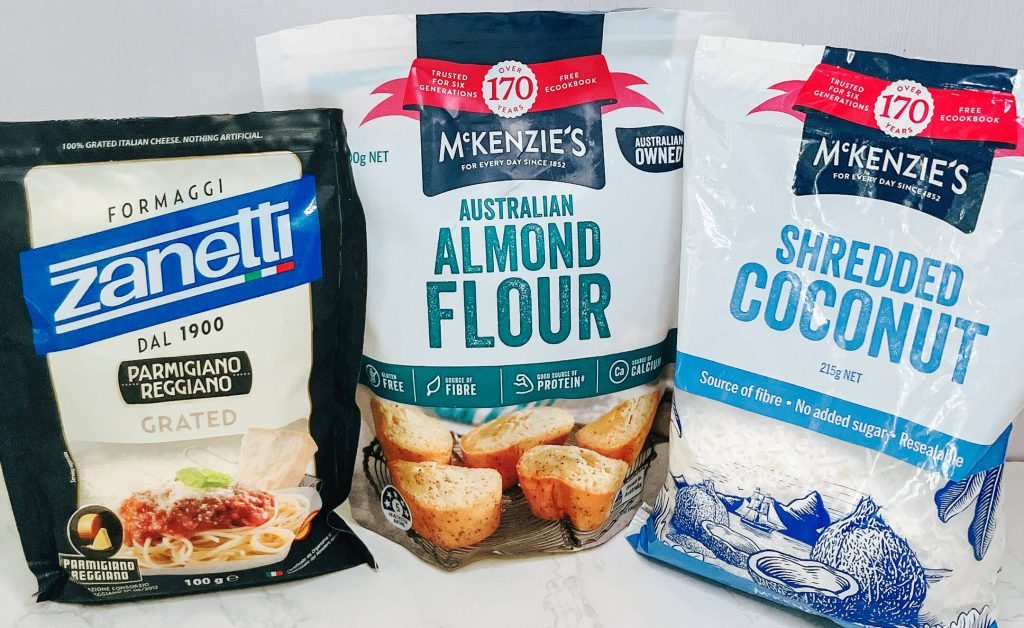
Ingredients for chicken katsu – parmesan, almond flour, and shredded coconut 
Ingredients for chicken katsu – almond flour, shredded coconut, and parmesan.
- Chicken breast or thigh – thighs stay extra juicy, but the keto crumb keeps breast moist too (my preferred cut).
- Almond flour, shredded coconut & parmesan – the keto crumb mix (no panko needed).
- Extra almond flour – for dusting before the egg wash (helps the egg stick and keeps the crumb from sliding off).
- Egg wash – binds the crumb coating.
- Oil spray – for air frying or shallow frying.
For the Lime & Cilantro Cauliflower Rice:

Cauliflower rice with lime and cilantro — fresh, low-carb side for katsu. 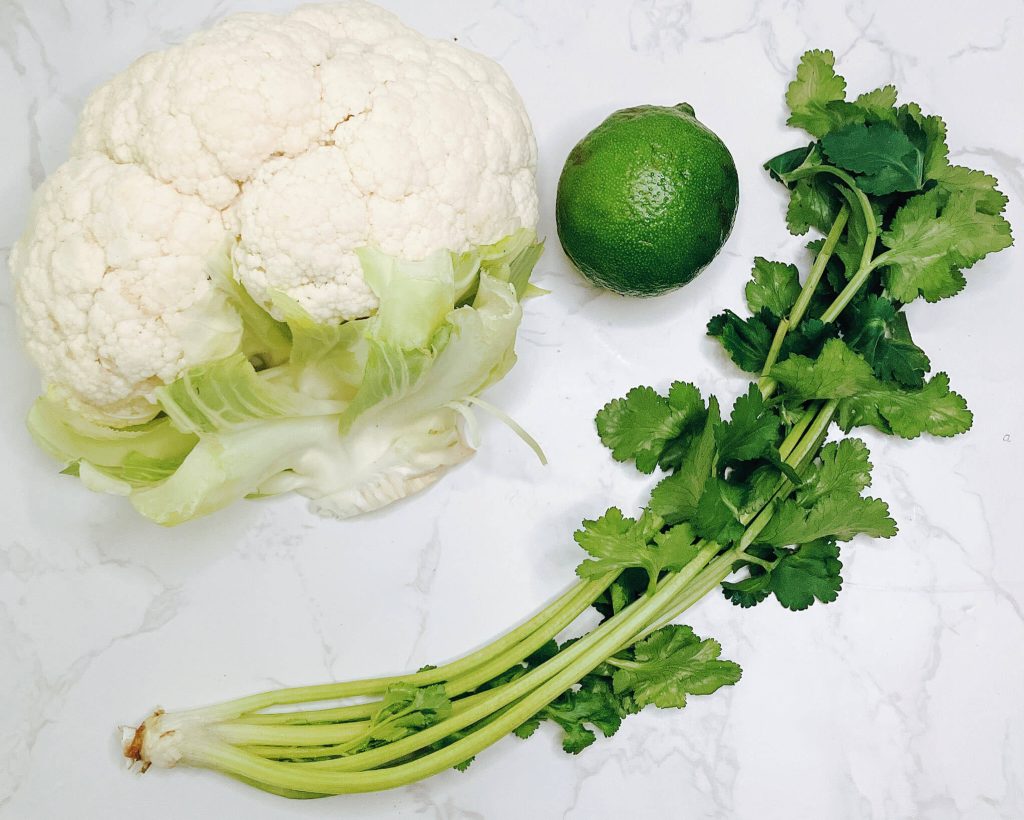
Whole cauliflower, lime, and cilantro — ingredients for cauliflower rice side.
- Cauliflower rice – light, low-carb base.
- Fresh lime (zest + juice) – bright, zesty kick.
- Fresh cilantro – color, freshness, and fragrance.
- Salt – ties it all together.
💡 Tip: This rice actually tastes better served at room temperature or slightly chilled — the cool, refreshing flavor balances the hot katsu curry perfectly.
Coleslaw

Coleslaw salad mix with dressing for serving alongside chicken katsu. 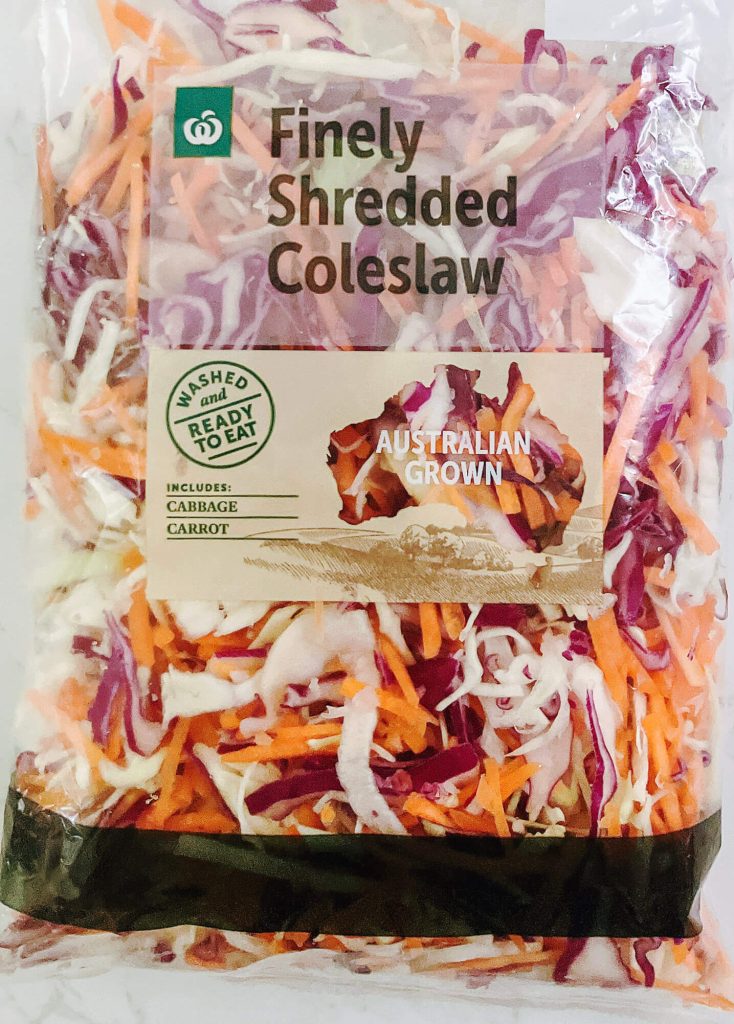
Packaged coleslaw mix used as a side for chicken katsu.
- Packaged coleslaw mix – quick and easy base (cabbage + carrot).
- Dressing – olive oil, vinegar, and seeded mustard for tang and zing.
- Optional – swap in your favorite slaw dressing if you prefer creamier.
💡 Tip: For this blog I used my own kale slaw, but a store-bought mix works perfectly too — no need to shred vegetables for an already big recipe.
Keto Chicken Katsu Curry Comparisons
See how the cut of chicken, crumb coating, curry style, and cooking method change the flavor, texture, and finish of this keto chicken katsu curry — so you can choose your perfect version.
Keto Chicken Katsu Curry: Breast vs. Thigh
Ingredients for chicken katsu – chicken breast and thigh. 
Air fryer chicken katsu cutlets — left is thigh, right is breast.
- Breast – cooks faster, slices into neat cutlets, and with the keto crumb it actually stays juicy rather than drying out. The result is a leaner bite with a clean flavor, and I find it pairs especially well with the creamy curry sauce. (My preferred cut for this keto version.)
- Thigh – naturally fattier, so it locks in more moisture and gives a richer, slightly more indulgent flavor. It’s also a bit more forgiving in the air fryer if you’re worried about overcooking.
Both cuts work beautifully — breast gives you a lighter, balanced finish, while thigh leans into richness and extra juiciness.
Keto Chicken Katsu Curry: Keto Crumb vs. Panko

Ingredients for chicken katsu – left is keto crumb mix, right is panko crumbs. 
Uncooked chicken katsu cutlets – left is keto crumb, right is panko crumb. 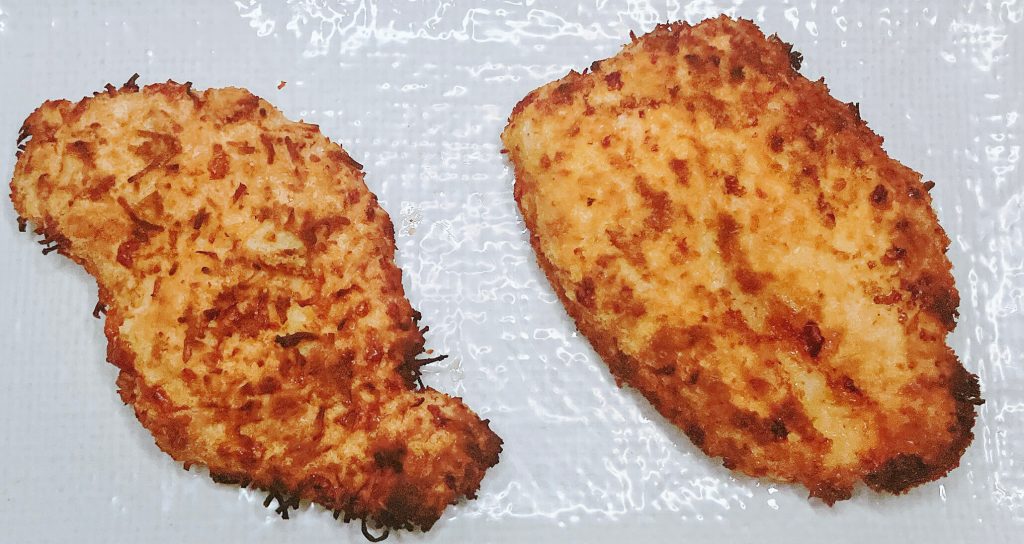
Chicken katsu cutlets – left is keto crumb, right is panko crumb.
- Keto Crumb (almond, coconut, parmesan) – bakes up golden and crisp, with a nutty depth from the almond and parmesan. The coconut adds crunch and a touch of sweetness. I especially like the flavor note of almond in the crumb — it gives the katsu a unique richness that pairs beautifully with curry. It’s a little denser than panko, but once you eat it with the sauce it’s hardly noticeable. Completely keto & gluten-free.
- Panko (traditional) – delivers a lighter, airier crunch that’s classic for katsu. However, it’s made from bread, so it’s not keto or gluten-free.
Side by side: Keto crumb feels heartier and more flavorful, while panko gives a lighter, shatter-crisp bite. Both taste great — it just depends whether you want the authentic texture (panko) or a keto-friendly alternative that still satisfies.
Keto Chicken Katsu Curry: Air Fry vs. Shallow Fry

Airfryer chicken katsu cutlets – left is thigh, right is breast. 
Shallow-fried chicken katsu – thigh (left) vs breast (right).
- Air Fry (recommended) – the easiest method for home cooking. Comes out cleaner, lighter, and still crispy with far less oil. The coating browns evenly, there’s less mess, and it’s much harder to burn compared to frying. Perfect for weeknights since it’s mostly hands-off, even if it takes a few minutes longer.
- Shallow Fry – cooks quicker, with a deeper golden crust and slightly richer flavor from the oil. More indulgent and closer to restaurant-style katsu, but also heavier and requires more attention at the stove.
Side by side: Air fry is lighter, cleaner, and more convenient at home, while shallow fry is faster and gives extra crunch and richness. Both work — but for everyday cooking, air fry is the way to go.
Keto Chicken Katsu Curry: Keto Curry vs. Roux Block Curry
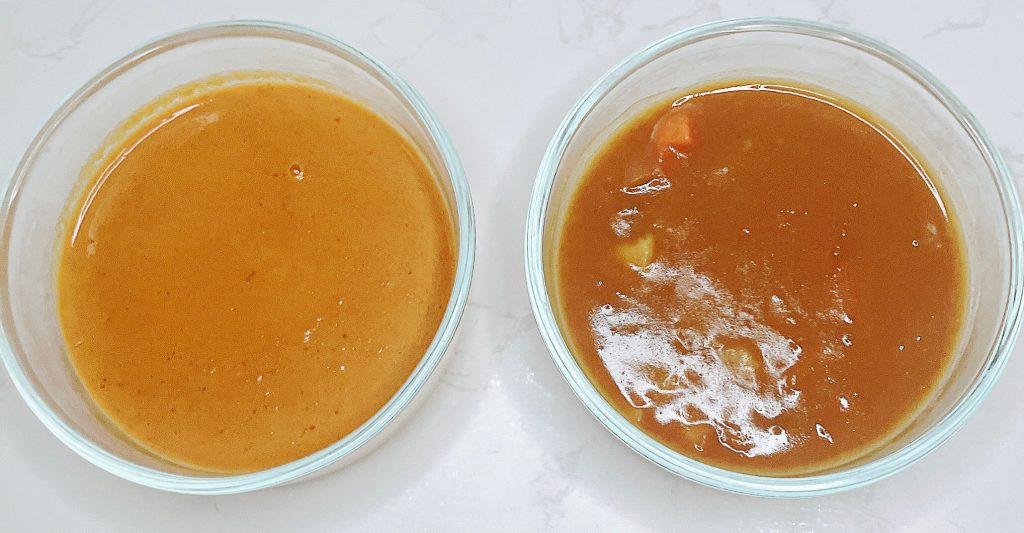
Keto Japanese curry sauce (left) vs classic roux-based curry sauce (right)
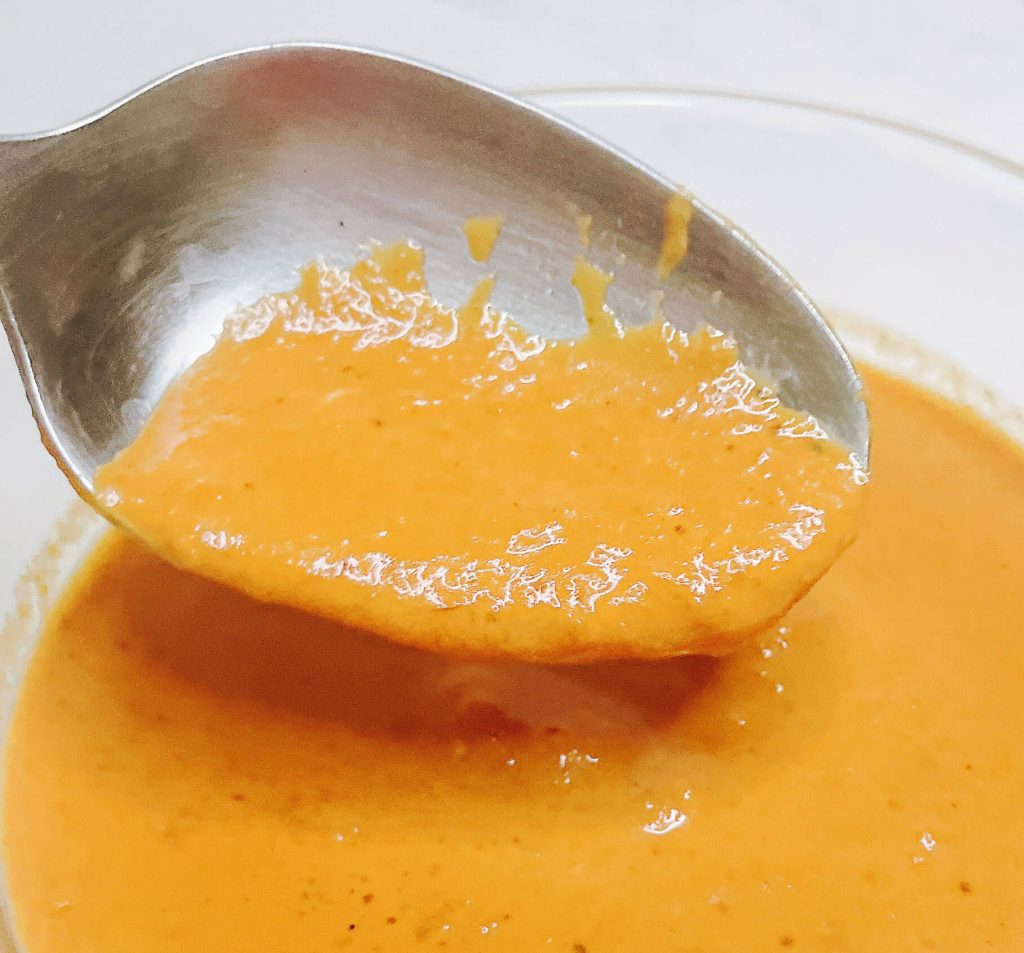
Keto Japanese curry sauce – smooth, rich, and flavorful. 
Japanese curry roux sauce – thick, glossy, and comforting. 
Crispy keto chicken katsu curry with lime and cilantro cauliflower rice. 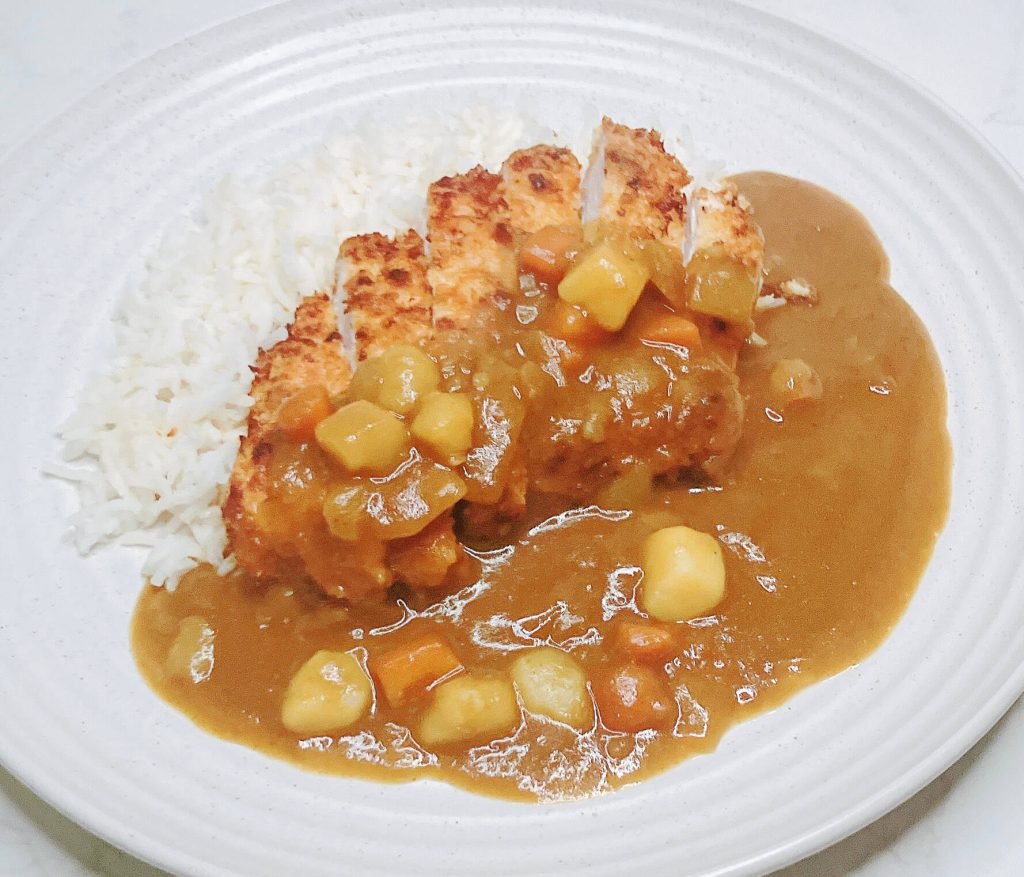
Chicken katsu with Japanese curry roux – the traditional, hearty style
- Keto Curry – made from scratch with aromatics, spices, miso, tomato paste, and cream. Thickened naturally with slow-cooked, blended onion, so the sauce has a rich body and smooth texture without flour. Gluten-free, low-carb, and coats the katsu beautifully.
- Japanese Curry Roux (traditional blocks) – thick and glossy, but relies on a flour-and-fat roux for body, plus sugar and additives for sweetness. Hearty and nostalgic, but much higher in carbs.
Side by side: Keto curry has layered umami and a clean, fresh finish, while roux-based curry leans heavier and sweeter. Both are comforting — but the keto version delivers the same satisfying texture without the flour and sugar.
The main recipe in this keto chicken katsu curry post uses breast, keto crumb, air frying, and keto curry — but you can see how each variation changes the final dish.
Step by Step Guide : Keto Chicken katsu curry with lime and cilantro Cauliflower Rice
Keto chicken katsu curry – Keto Curry Step

Step 1 – Melt butter in a saucepan to start the keto curry base. 
Step 2 – Add sliced onions to the melted butter for the keto curry base. 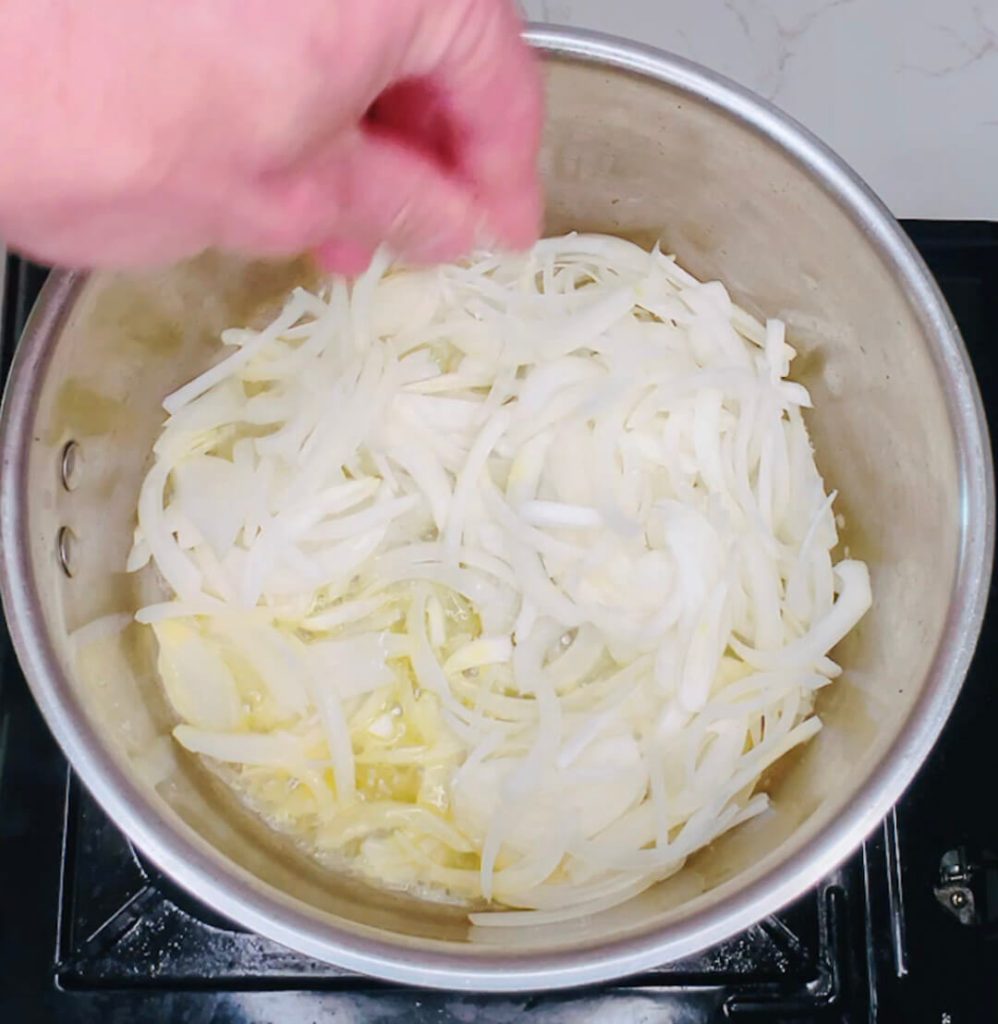
Step 3 – Season the onions with salt to help draw out moisture and enhance flavor. 
Step 4 – Caramelize the onions until golden and sweet to deepen the curry flavor. 
Step 5 – Add garlic and ginger to the caramelized onions for extra depth and aroma. 
Step 6 – Stir in curry powder, cumin, and tomato paste to build the curry flavor. 
Step 7 – Add miso paste to enrich the curry with umami depth. 
Step 8 – Add water to loosen the curry base and start forming the sauce. 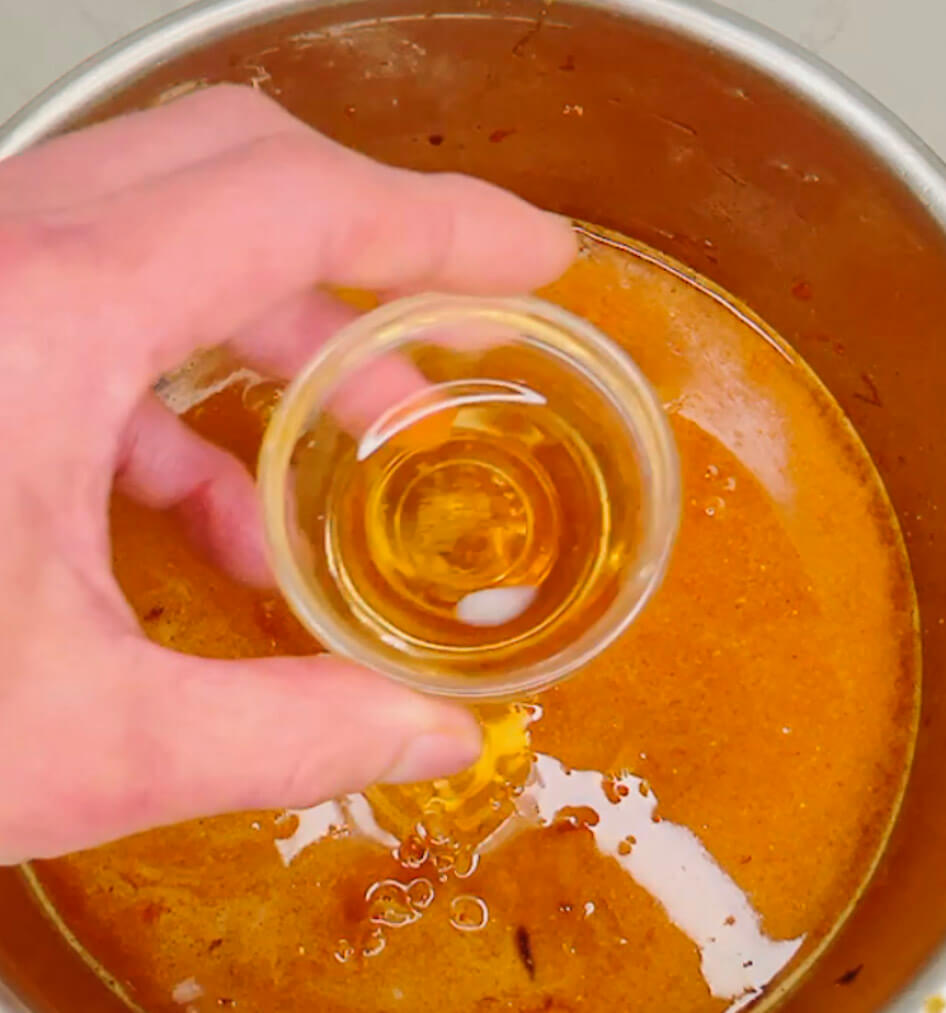
Step 9 – Add fish sauce to deepen the savory umami flavor of the curry. 
Step 10 – Add soy sauce to balance the flavor of the curry sauce. 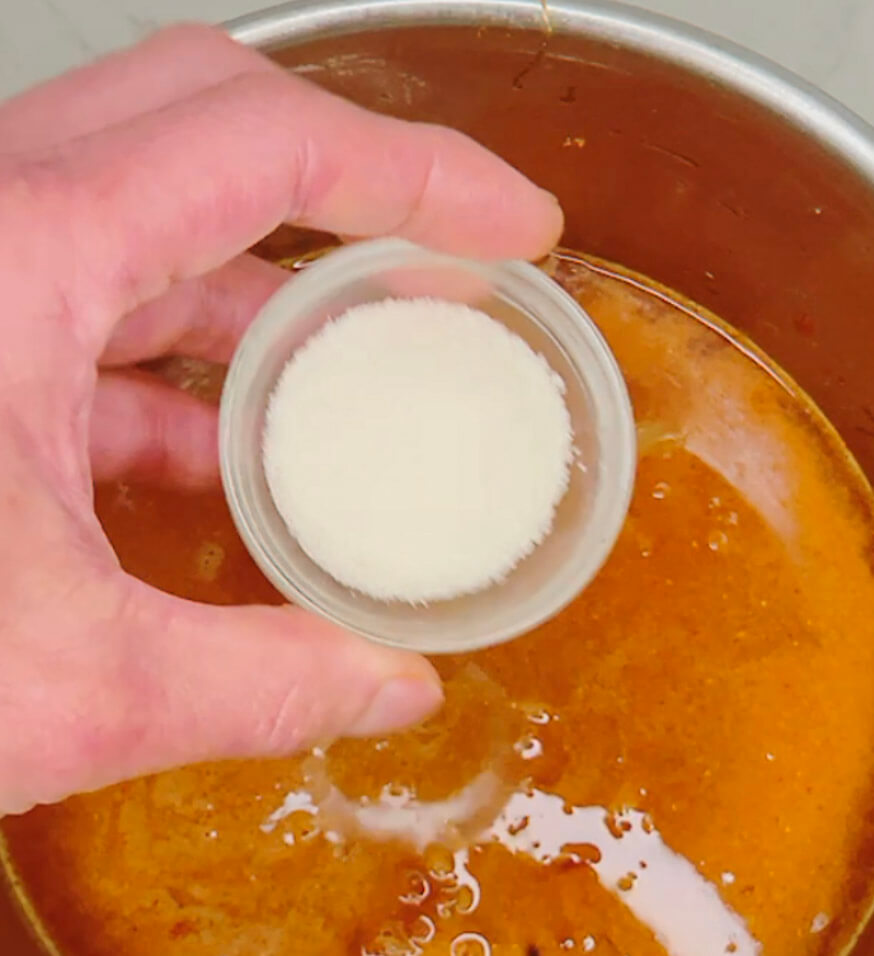
Step 11 – Add monk fruit sweetener to bring natural sweetness to the curry without sugar. 
Step 12 – Simmer the curry sauce for about 10 minutes until it thickens and flavors come together. 
Step 13 – Blend the curry sauce until smooth and creamy. 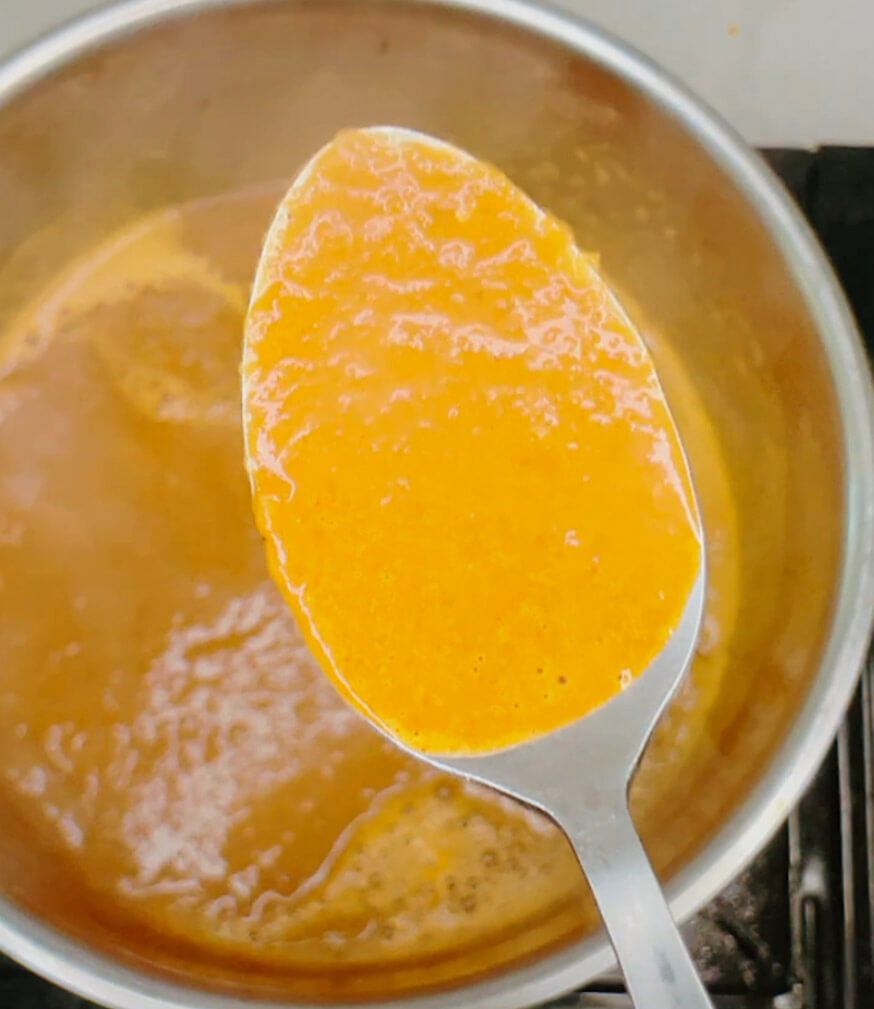
Step 14 – Check the curry sauce consistency; it should sit smoothly on the spoon. 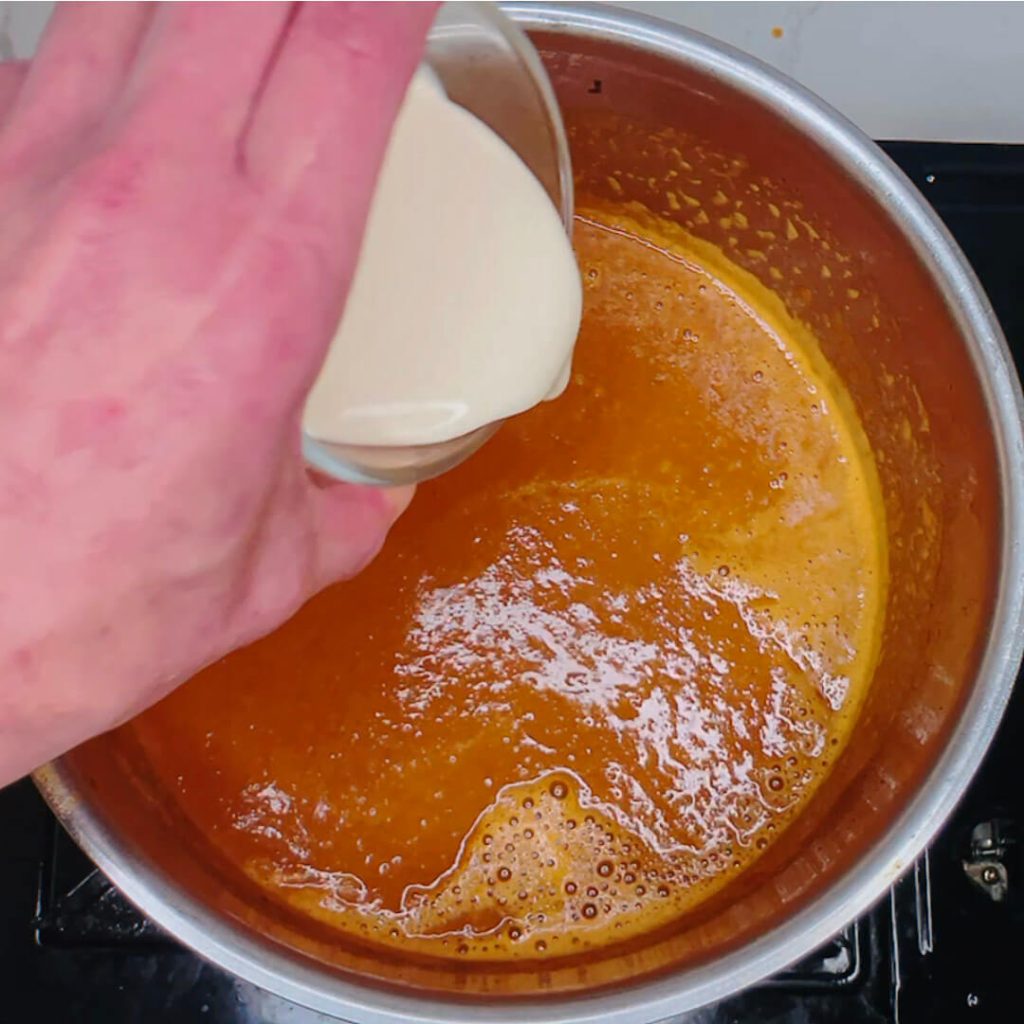
Step 15 – Add cream to finish the curry sauce with a rich, smooth texture. 
Step 16 – The curry sauce is finished, smooth, and ready to serve.
Method – Keto Japanese Curry
- Melt butter in a saucepan over medium heat.
- Add sliced onions and cook in the melted butter.
- Season with salt to draw out moisture and enhance flavor.
- Caramelize onions until golden and sweet.
- Add garlic and ginger to the onions and sauté briefly for aroma.
- Stir in curry powder, cumin, and tomato paste to build flavor.
- Add miso paste for umami depth.
- Pour in water to loosen the base and start forming the sauce.
- Add fish sauce to deepen the savory flavor.
- Stir in tamari to balance and round out the sauce.
- Mix in monk fruit sweetener for gentle sweetness.
- Simmer for 10 minutes until the sauce thickens and flavors meld.
- Blend until smooth and creamy.
- Check consistency – it should coat the back of a spoon smoothly.
- Finish with cream for a rich, silky texture.
Cook’s Note: The sauce already has plenty of flavor and seasoning from the tamari, miso, and fish sauce — so no extra salt is required unless you prefer it saltier.
Keto chicken katsu curry – Keto Chicken katsu Step
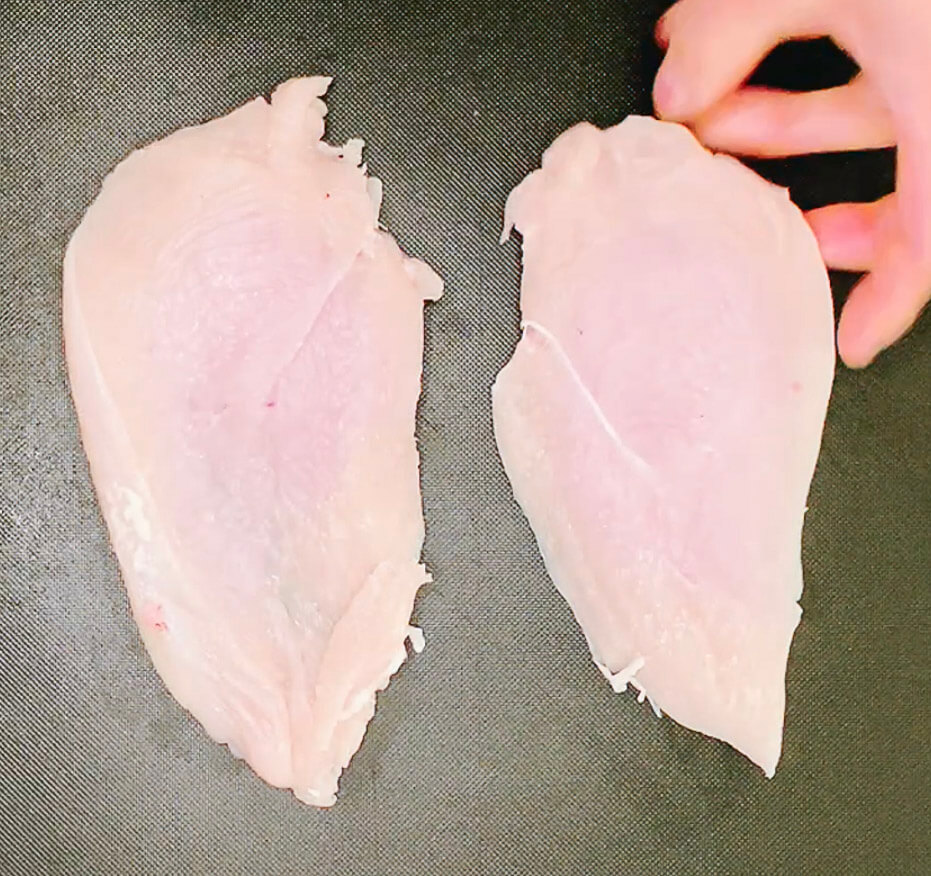
Step 1 – Cut the chicken breast in half to make even portions for katsu. 
Step 2 – Season the chicken breast with salt and pepper on both sides. 
Step 3 – Lightly dust the chicken breast with almond flour to help the coating stick. 
Step 4 – Dip the chicken breast into the egg wash to prepare for the crumb coating. 
Step 5 – Coat the chicken breast evenly with the keto crumb mixture. 
Step 6 – Cook the crumbed chicken in the air fryer until golden and crispy. 
Step 7 – Flip the chicken cutlet halfway through air frying for even browning. 
Step 8 – Cook the chicken cutlet on the second side until golden and crispy. 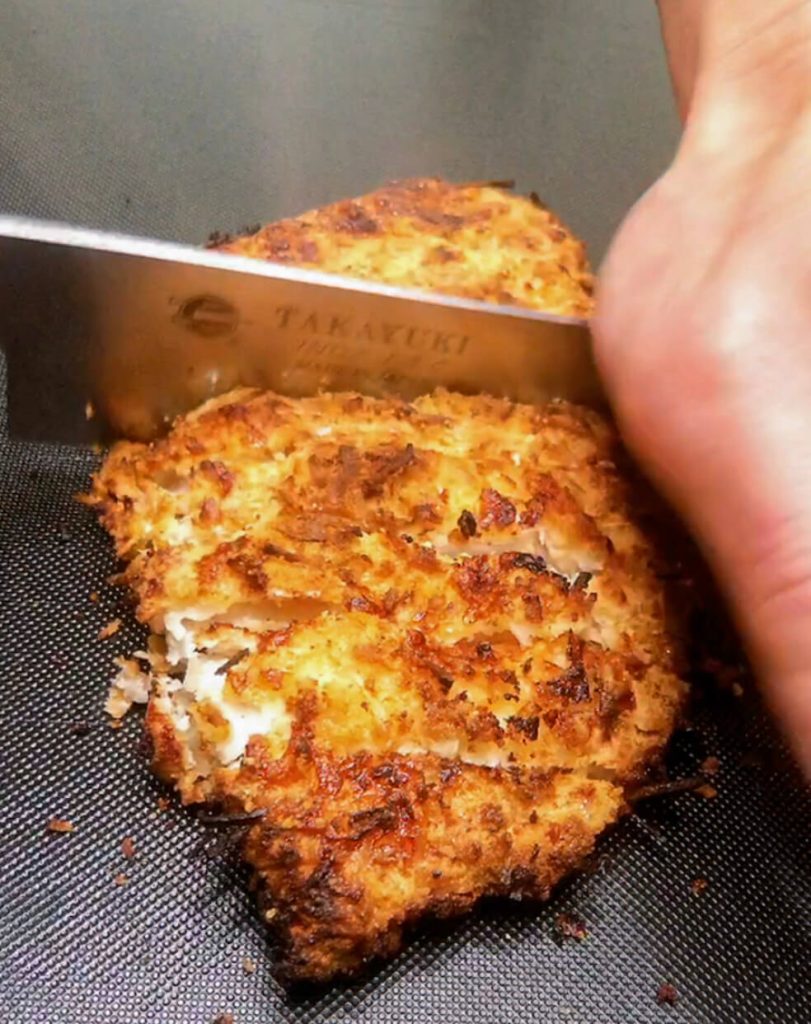
Step 9 – Slice the cooked chicken katsu into strips for serving.
Method – Keto Chicken Katsu
- Prepare the chicken – Cut the chicken breast in half lengthwise to make even cutlets.
- Season – Sprinkle both sides lightly with salt and pepper.
- Dust with almond flour – Lightly coat the chicken in almond flour to help the egg wash and crumb stick.
- Dip in egg wash – Coat each cutlet in beaten egg.
- Crumb the chicken – Press evenly into the keto crumb mixture (almond flour, coconut, parmesan) until fully coated.
- Cook in the air fryer – Place the crumbed cutlets in the basket and air fry until golden.
- Flip halfway – Turn the chicken partway through cooking for even browning.
- Finish cooking – Continue air frying until the second side is golden and the chicken is cooked through.
- Slice & serve – Cut into strips and serve hot with curry sauce and cauliflower rice.
Cook’s Note: Air frying makes this much easier at home — less oil, less mess, and a lower chance of burning compared to shallow frying.
Keto chicken katsu curry – Lime & Cilantro Cauliflower Rice step
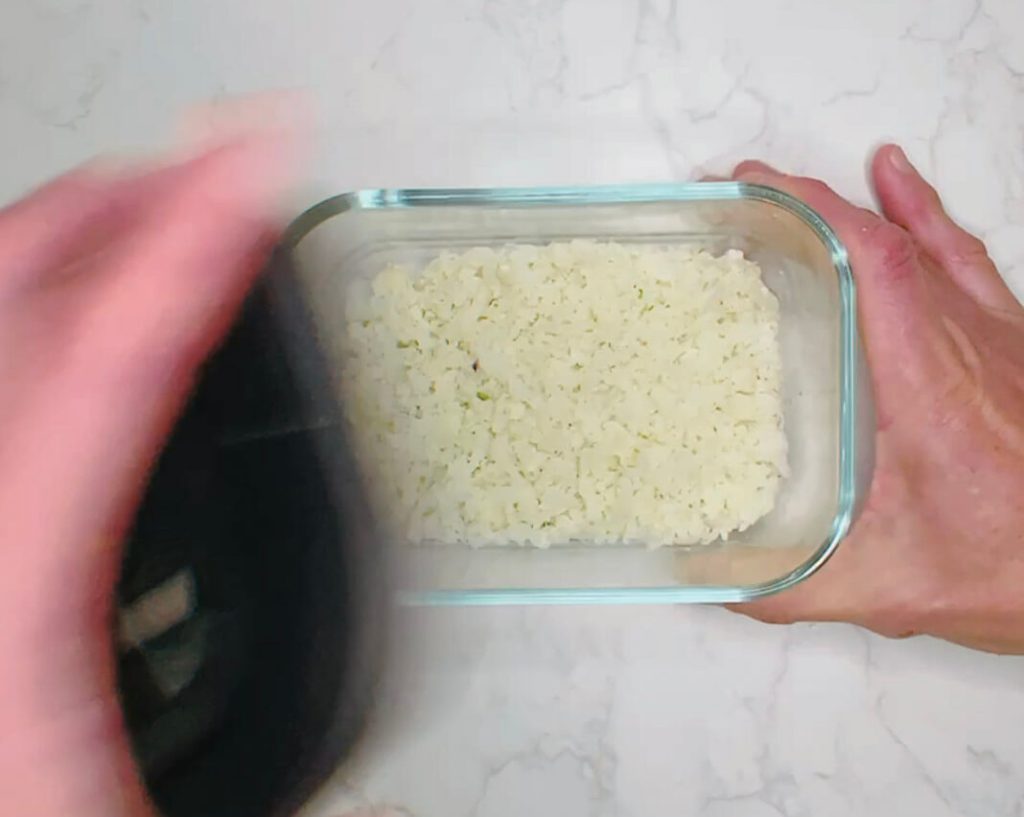
Step 1 – Cook the cauliflower rice in the microwave until tender and fluffy. 
Step 2 – Add fresh lime zest to the cauliflower rice for bright citrus flavor. 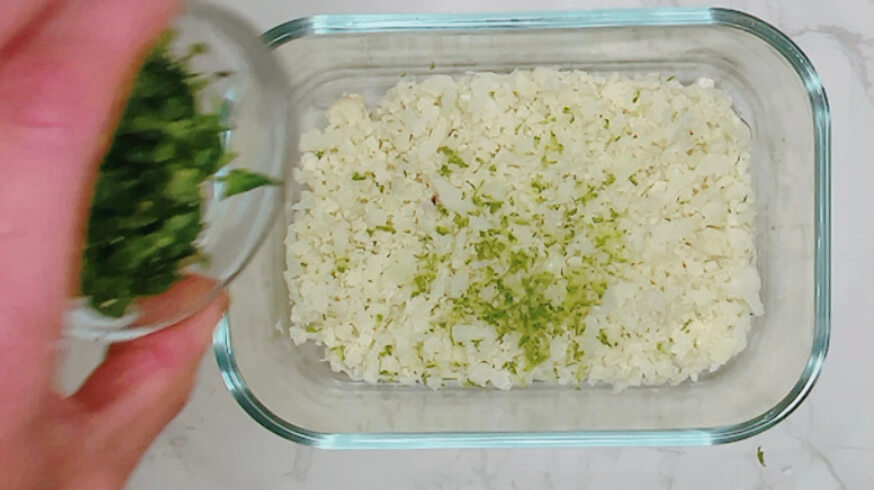
Step 3 – Mix in fresh cilantro to give the cauliflower rice a fragrant, herbal finish. 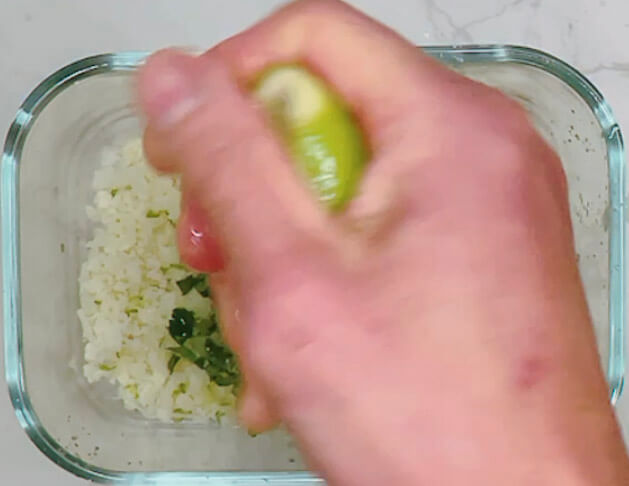
Step 4 – Squeeze fresh lime juice over the cauliflower rice for zesty flavor. 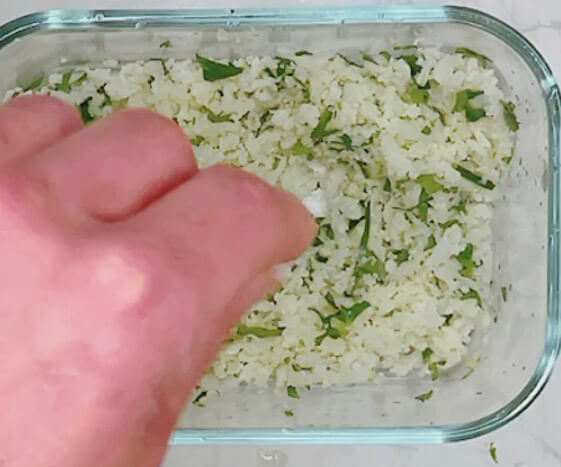
Step 5 – Season the cauliflower rice with salt to taste. 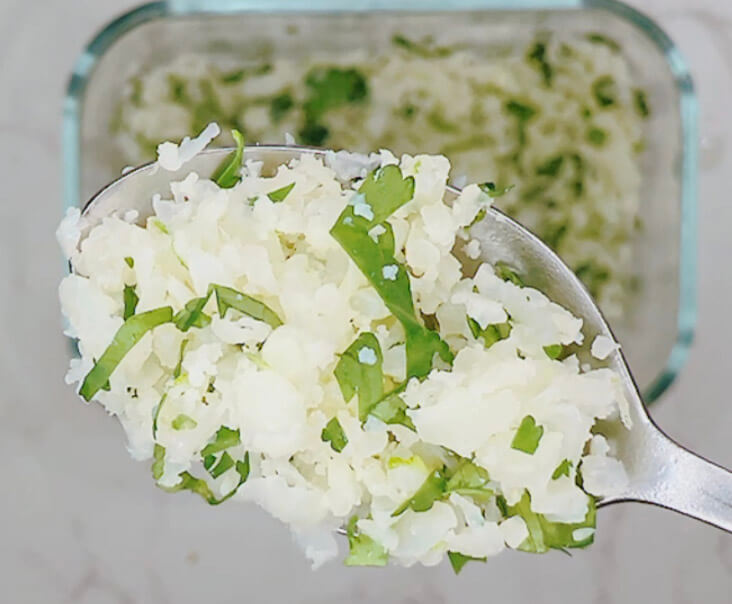
Step 6 – The lime and cilantro cauliflower rice is finished and ready to serve.
Method – Lime & Cilantro Cauliflower Rice
- Cook the cauliflower rice in the microwave until tender and fluffy.
- Add lime zest for a bright citrus note.
- Mix in fresh cilantro for fragrance and color.
- Squeeze in fresh lime juice to add zesty freshness.
- Season lightly with salt to taste.
- Toss well and serve — refreshing, light, and the perfect balance for rich curry.
This rice tastes even better at room temperature or slightly chilled — the cool citrus-herb flavor balances the hot keto chicken katsu curry beautifully.
Tip: Want to learn how to make raw cauliflower rice or explore other flavor variations? See my Cauliflower Rice Guide.
Assemble Keto chicken katsu curry
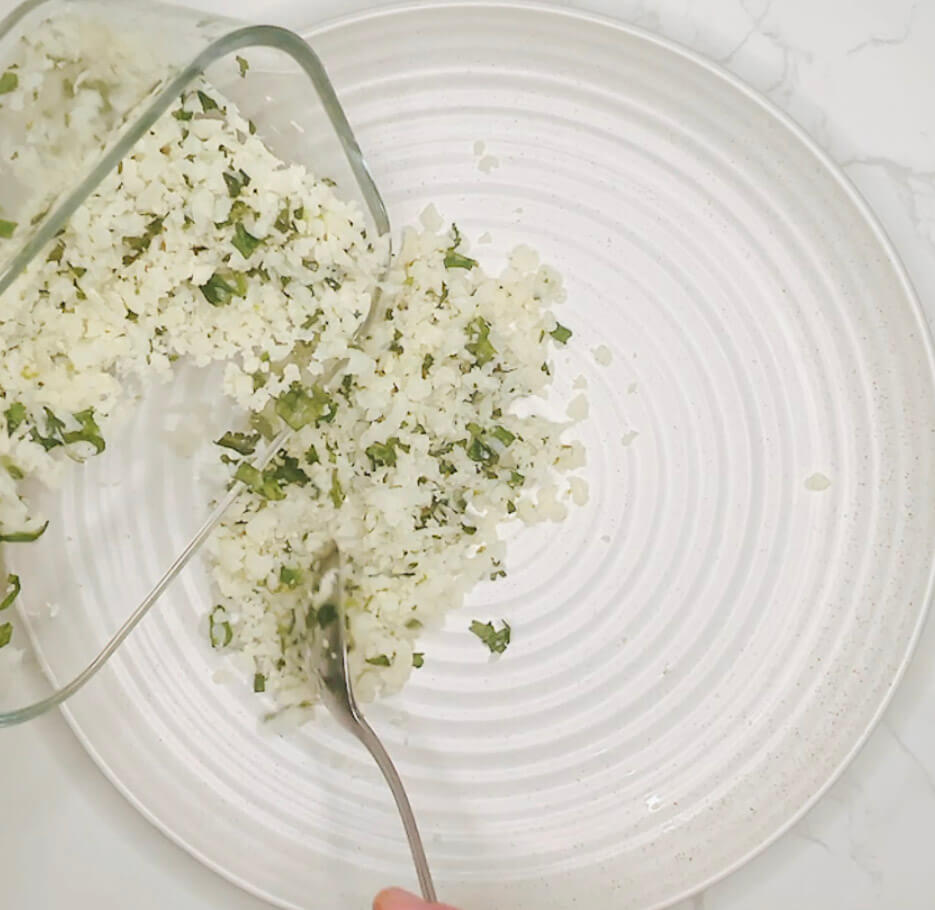
Step 1 – Plate the cauliflower rice as the base of the keto chicken katsu curry. 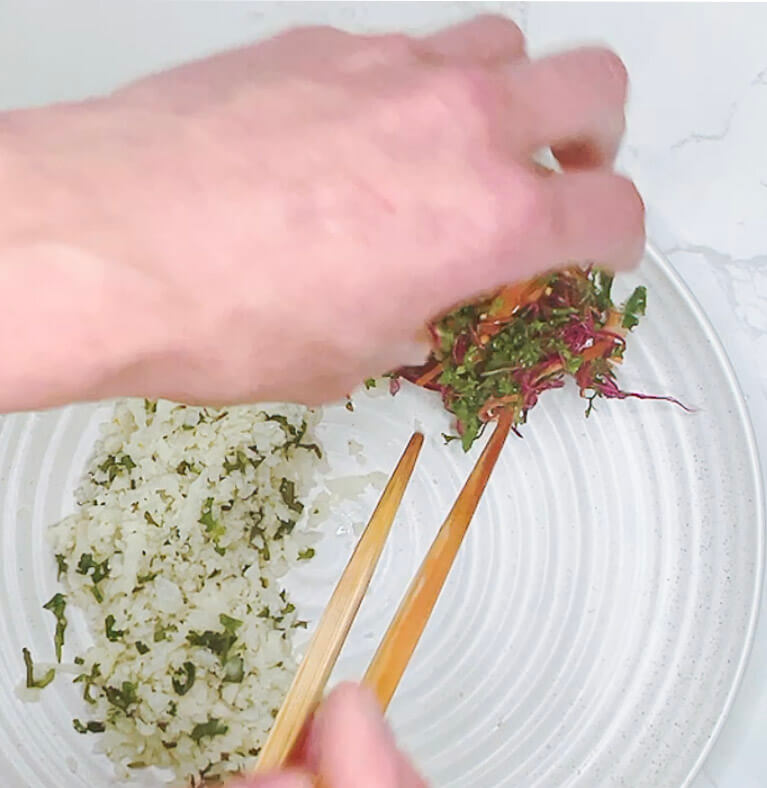
Step 2 – Add a portion of coleslaw to the plate for freshness and crunch. 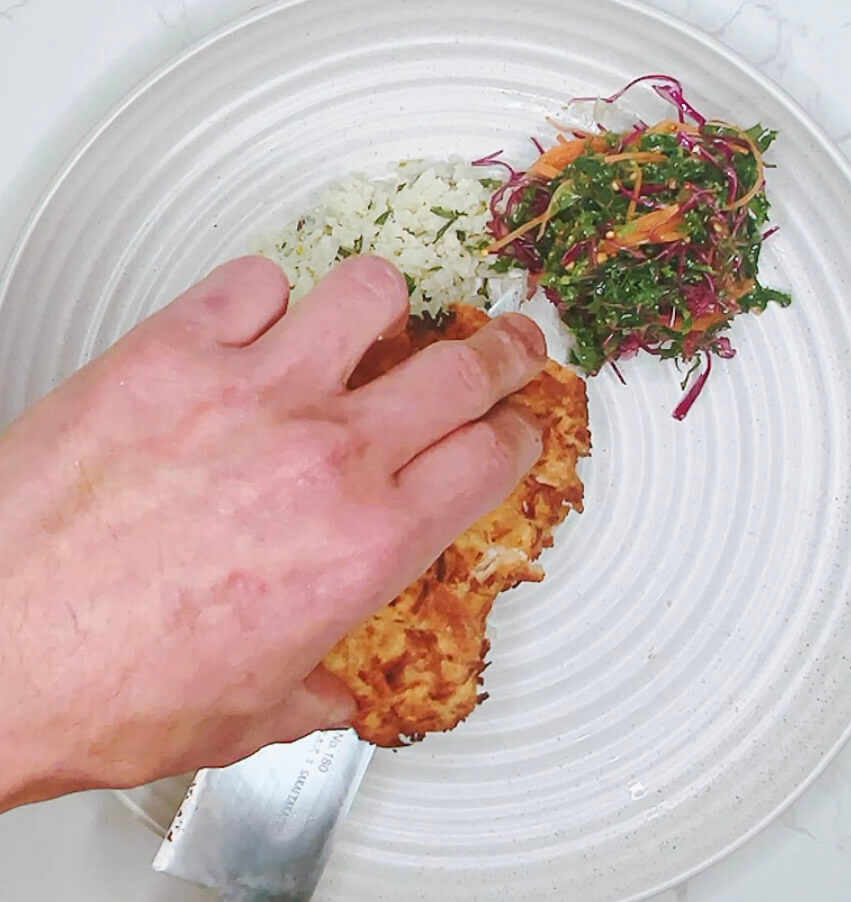
Step 3 – Add the Chicken Katsu to the plate. 
Step 4 – Pour the rich keto curry sauce over the chicken katsu and rice. 
Step 5 – The keto chicken katsu curry is plated and ready to serve.
- Plate the cauliflower rice as the base.
- Add a portion of coleslaw to the side for freshness and crunch.
- Place the sliced chicken katsu alongside the rice and slaw.
- Pour the keto curry sauce generously over the chicken and rice.
- Serve immediately while the katsu is crisp and the curry hot.
💡 The cool lime & cilantro cauliflower rice and crisp slaw balance the rich curry and crispy katsu perfectly, giving you the full Japanese curry experience — keto style.
Final Thoughts of keto chicken katsu curry
This Keto Chicken Katsu Curry with Lime & Cilantro Cauliflower Rice proves you don’t need flour or added sugar to enjoy the full comfort of Japanese curry. From the crispy keto crumb to the creamy onion-thickened sauce, every element delivers big flavor while staying keto-friendly, gluten-free, and low-carb.
To be honest, I liked the taste more than I expected — I even prefer this keto curry over the traditional roux version, which surprised me. At home, I usually avoid packet roux curries because my wife isn’t a fan of the heavy texture (she prefers Indian or Thai-style curries), and with my daughters’ dietary needs plus the additives in packets, it never felt right for our table. After developing this recipe, it’s become a new staple in my house — and I hope this keto chicken katsu curry becomes one in yours too.

Keto Chicken Katsu Curry with Lime & Cilantro Cauliflower Rice
Equipment
- 1 air fryer
- 4 Mixing bowl
- 1 Tongs
- 1 chefs knife
- 1 Cutting Board
- 1 sauce pan
- 1 micro wave
- 1 micro wave safe container
- 1 Grater
- 1 stick blender
Ingredients
For the Chicken Katsu
- 2 large chicken breasts or 4 thighs — boneless, skinless
- 1 tsp salt
- ½ tsp ground white pepper
- Cooking spray or a drizzle of avocado oil for air frying
- Extra almond flour — for dusting
- 2 large eggs — beaten
Keto Crumb Mix for 4 pieces:
- 120 g almond flour
- 120 g shredded coconut unsweetened
- 60 g grated parmesan cheese
For the Keto Curry Sauce (doubled)
- 80 g unsalted butter
- 400 g onion — thinly sliced
- 6 g garlic — grated
- 10 g ginger — grated
- 12 g Japanese S&B curry powder
- 4 g ground cumin
- 40 g tomato paste double concentrate
- 800 ml water
- 20 g Monk fruit sweetener
- 20 g Tamari soy sauce
- 12 g white miso adjust to taste
- 10 g Fish sauce Mega chef brand
- 160 g Double cream
For the Lime & Cilantro Cauliflower Rice
- 800 g riced cauliflower fresh or frozen
- Zest of 2 limes
- 120 ml lime juice ≈ 8 TBsp
- 1/2 bunch fresh cilantro — chopped
- 2 tsp salt adjust to taste
Instructions
Prepare the Keto Chicken Katsu
- Season chicken — Pat dry chicken breasts or thighs. Season both sides with salt and white pepper.
- Set up dredging — Place a little almond flour in one bowl (for dusting). Beat eggs in a second bowl. In a third bowl, mix almond flour, shredded coconut, and grated parmesan for the crumb.
- Coat chicken — Dust chicken lightly in almond flour, dip into egg, then press firmly into the keto crumb mix until evenly coated.
- Rest the crumb — Place crumbed chicken on a tray or plate and let sit for 10 minutes. This helps the coating stick and crisp up better when cooked.
- Cook chicken — Air fryer: Spray both sides with oil. Place in preheated air fryer at 160 °C / 320 °F. Cook for 10 minutes, flip, then cook another 8–10 minutes until golden and cooked through. (Note: I tested this recipe in a Ninja Dual Zone 9.5L air fryer, which browns faster than many other models even at 160 °C / 320 °F. If your air fryer does not brown as quickly, you may need to increase the temperature slightly or extend the cooking time.)
- Pan fry: Heat 2–3 Tbsp oil in a non-stick pan over medium heat. Cook chicken for 4–5 minutes per side (adjust depending on thickness) until golden brown and fully cooked.
- Cooking times vary depending on cut and thickness of chicken — always check doneness before serving. Cook until the chicken reaches an internal temperature of 165°F (74°C).
Make the Keto Curry Sauce
- Melt butter in a saucepan, add sliced onion and a pinch of salt. Cook slowly until golden and caramelized (10–12 minutes).
- Stir in garlic and ginger, cook for 30 seconds. Add curry powder, cumin, and tomato paste. Cook 1 minute until fragrant.
- Pour in water, fish sauce, miso, sweetener, and tamari soy sauce. Simmer gently for 8–10 minutes until slightly thickened.
- Remove from heat and blend with a stick blender until smooth. Stir in double cream and bring back to a gentle simmer for 1 minute.
- (No extra seasoning needed — the miso, fish sauce, and tamari soy provide enough salt.)
Prepare the Lime & Cilantro Cauliflower Rice
- Microwave riced cauliflower in a covered bowl for 3–4 minutes (or steam until tender).
- Stir in lime zest, lime juice, cilantro, and salt to taste.
- Assemble & Serve
- Slice chicken katsu into strips.
- Spoon cauliflower rice into bowls, add coleslaw (optional).
- Place sliced katsu on top, then pour over curry sauce. Serve hot.
Notes
- • Air fryer model note: This recipe was tested in a Ninja Dual Zone 9.5L air fryer, which tends to brown more quickly than many other brands at lower temperatures. If your air fryer doesn’t brown as fast, try raising the temperature slightly or cooking a little longer to achieve the same golden crust.
- Chicken cuts: Works with both chicken breast and thigh. Thigh stays juicier, while breast is leaner. Adjust cooking time depending on thickness.
- Cooking method: Air fryer gives a lighter, crisp finish with less oil. Pan frying creates a richer golden crust.
- Crumbing tip: Let the crumbed chicken rest for 10 minutes before cooking — this helps the coating stick better and crisp up nicely.
- Make ahead: Chicken can be crumbed up to 1 day in advance. Keep covered in the fridge until ready to cook.
- Cauliflower rice: Use fresh or frozen. Adjust lime juice to taste before serving.
- Tamari: Recommended instead of soy sauce — it’s less salty and adds deeper umami flavor, balancing perfectly with miso and fish sauce.
- Curry sauce: Made with tamari, fish sauce, miso, and sweetener — no extra seasoning is needed. Stir in double cream at the end for a silky finish.
- Flavor & storage: The curry sauce tastes even better the next day as the flavors develop. It also freezes well for up to 1 month.
👉 Thanks for visiting! If you try this recipe, I’d love to hear how it turned out.
Leave a comment or tag me on Instagram @seasonedwithflavor — it makes my day!